county fair time

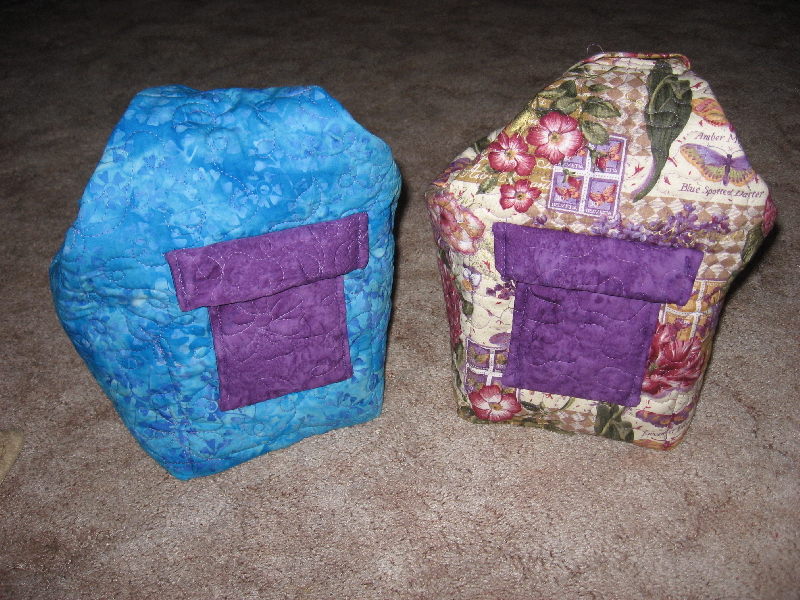
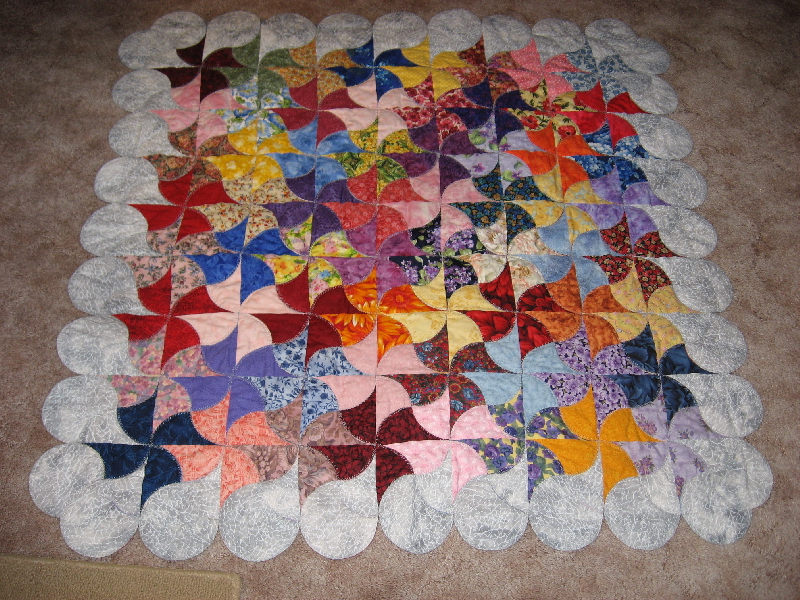
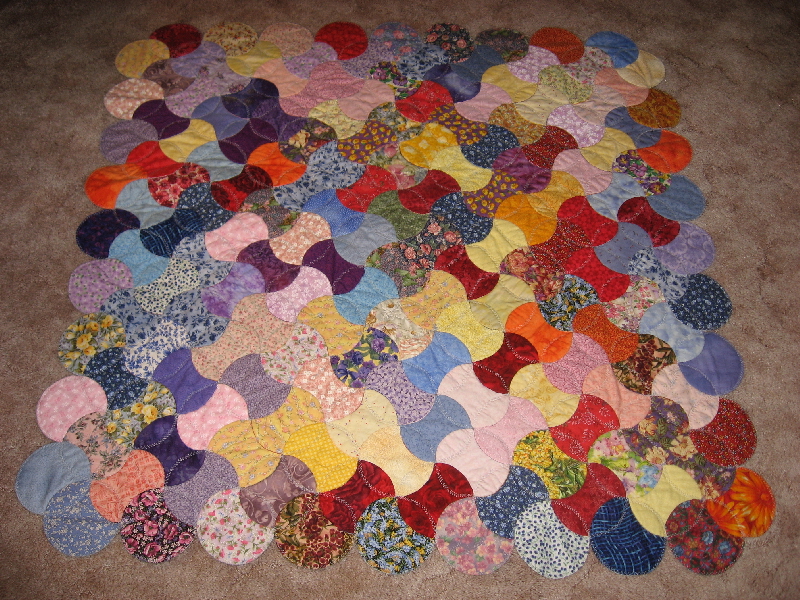
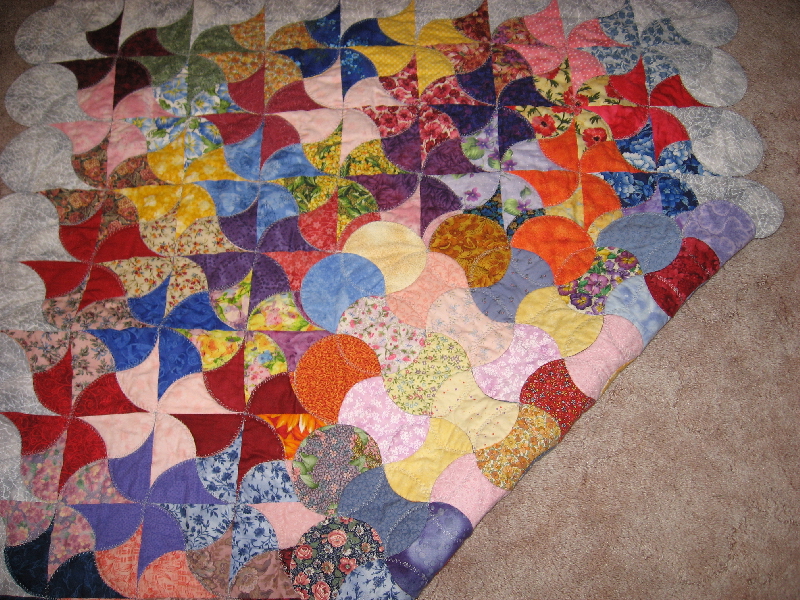
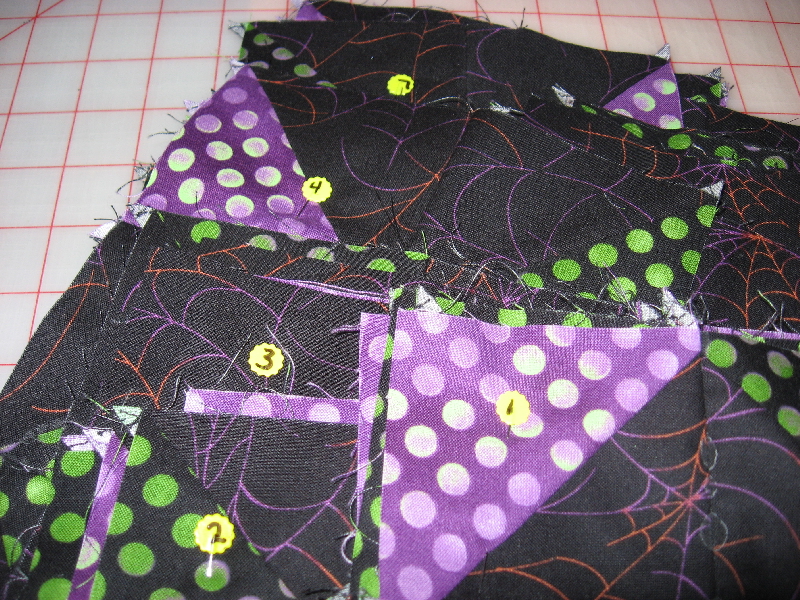
I always enjoy entering quilts in the county fair. My daughter made her first quilt last December so she entered it and received a blue ribbon! She’s so happy!!

My sister and I both did well on blue ribbons too. The fair is being relocated to new land, so it’s being held in a temporary location. It makes it bad because they used to hang most of the large quilts on the walls and now they have to drape them on racks, so you don’t get to see the whole thing. Anyway, hopefully next year the new fairgrounds will be ready.

I’ve been busy getting quilting done this week and I have neglected my blog here. Shame on me! I plan to stay on top of this.

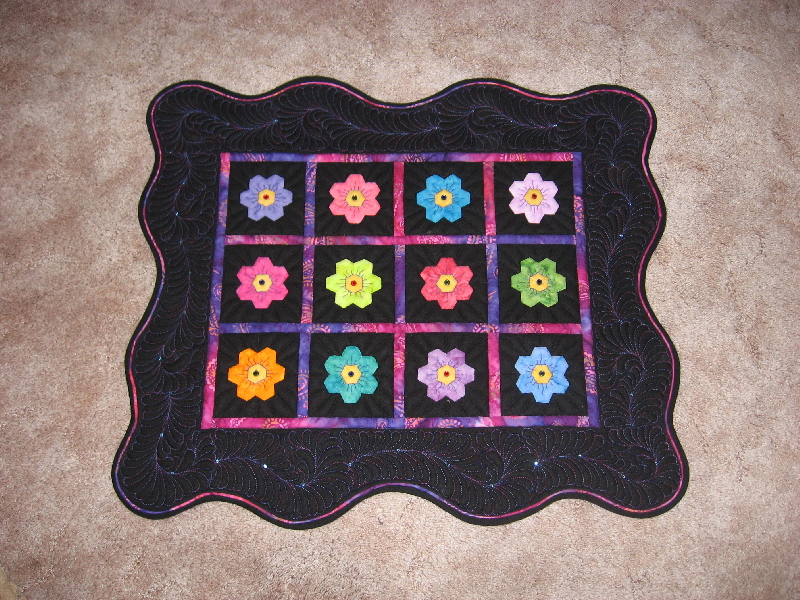
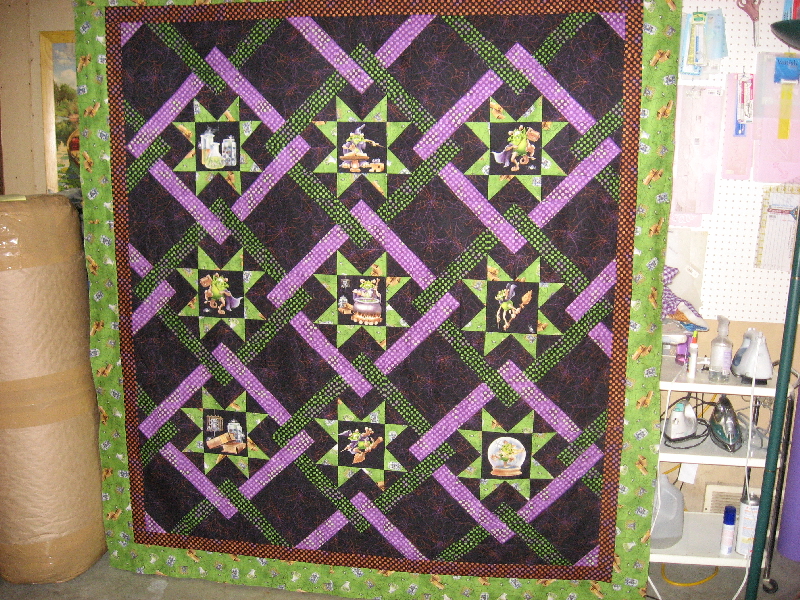
I quilted a quilt this week that had wavy borders. What does that mean? It’s what you get when you don’t measure the proper length to cut the borders and you just sew the border fabric onto the sides. Many times there’s more fabric than there should be. In order for the quilt to be square the borders need to be the same size. The top and bottom and the 2 sides.  Measure through the center (either vertically or horizontally) and cut the border strips that exact size. Pin the border on the quilt marking every quarter of the quilt. Sew them on then measure through the center again. The opposite of what you measured the first time. Cut the borders that exact size. Sew them on. You might have to fudge a little getting the outside edges of the quilt to fit, but if the borders are the same size then you’ll end up with a square quilt.  (I don’t mean litterally square, it can be a rectangle) What I’m saying is that it will be square as far as the left side, the middle and the right side of the quilt are all the same width or length. If doing mitered corners, it’s a little different.  If I didn’t explain this very well, I would be willing to add a page with pictures showing how to measure and add borders, on my blog here. Let me know.

I’ve been busy canning tomatoes this week and putting corn on the cobb in the freezer. This time of year keeps me busy!! I guess that’s it for now.  Hope you have a wonderful day!!

Theresa

6 weeks and counting

Gee, I can’t believe that 6 weeks from today Pam and I will be heading to Italy!! I’m so excited!!!

I had  backpacks made for me and Pam to carry (in place of our purses) while we’re traveling. Several months ago the speaker at our guild was showing quilted purses and bags, so I asked if she could make a couple for me. I quilted the fabric and gave it to her. I just got them back! Yeah!!  She did a wonderful job of making them.

They are pretty big, so we should be able to carry a lot in them. More than in our purses.  We are limited on how much we can take with us. I suitcase and one carry on each. After that they charge.$$$

We can unzip the zipper and it becomes a backpack.

It also has pockets around the inside. I don’t know what pattern she used, but I could find out if you’re interested in making one for yourself.

Well, I quess that’s it for now.

Have a great day!

Theresa

I got a cyber award.


This lovely statue is called the “Arte y Pico” award which was created to be given to bloggers who inspire others with their creative energy and talents no matter whether it be in the form of writing, artwork, design, interesting material, or contributions to the blogger community. When a blogger receives this award it is considered a “special honor” and, once presented to you, it is to be passed on to at least 5 other bloggers who meet the criteria.

Penny at Penny Quilts gave me this award. Thank you! I really don’t think I have that much to say that anyone is interested in, but, thank you!! You made me feel special. Now is the hard part, coming up with 5 to pass it on to. I’ve had my blog for a year (as of last week) but it’s taken me awhile to get into keeping up with it. LOL! I do enjoy reading blogs so if you leave a comment and have a link I’ll be sure to go check out your blog!!  I think  the blogs I will choose to pass the award on to will be Vicky @ Field trips in fibers, Randi @ Allen quilts, Judy L @ Patchwork times, May @ Abyquilt and last but not least to Adam @ Adam’s quilting.

I need to get downstairs and get to work, so I have to make this short and sweet.  I hope you have a wonderful day!!!

Theresa


I think I’ve improved. HA HA!!

I was going through some of my quilts and ran across a few that are……..well……..let’s just say, I think I’ve improved with my quilting over the years!

I’ll start with my first quilt.  Now, I was someone that told my sister (I was a teenager) that “I WILL NEVER MAKE A QUILT!!!”  Anyway, years later my Aunt found some blocks in my grandmothers attic that had been hand pieced by my Great grandmother, well, since I was always sewing clothing, craft items ect. she sent these things to me. I told my mom “What am I supposed to do with them??????? Jo’s the quilter” As time (years) went by, I finally decided to do SOMETHING with them, so I appliqued them down onto white muslin sewed the blocks together and hand quilted it. I didn’t know what binding was, so I just brought the fabric from the back around to the front and sewed it down. Wahlah! It was done and I was hooked on quilting!

I was now ready to start another quilt!! I went to a quilt show and they had baggies that had directions for a block and the fabric in them. I bought about 25 of these baggies of blocks. Home I went and hand sewed the blocks together. Then I hand quilted it. It took me 12 months to complete the quilt. (I still didn’t know what a binding was! LOL!!)

After making that one, I took a quilt class and learned what a rotary cutter and ruler were. Thank goodness!!

Anyway, here’s one that I made years later, I quilted it shortly after getting my longarm. Now you need to know that back then there were very few  books, videos ect. on longarm quilting. I bought Linda Taylors videos and Marsha Stevens videos and those were the only ones I knew of. Actually, the only quiltin books were for DSM’s not longarms. Oh well, I really thought my feathers looked good!  OH HOW WRONG I WAS!!!!! Look at these big honkin feathers! Oh my gosh!!!! I put feathers in the colored blocks and stippled in the black areas. I think someday I’ll take those feathers out and quilt something different in there!  See, I can do small feathers now! This is the last thing I’ve made.

Here’s a throw size quilt that I made one time. I forgot about it. I made it for a guild challenge one time. And the back. It’s not one I’ll ever make again. I about lost my mind trying to keep all the circles in the correct spot!

Well, I think I’ve improved with my quilt making and machine quilting over the years!! Don’t you think? I do get a good laugh when I look at some of these!!  I guess we all have to start somewhere!!

Oh, I did finish the monster quilt top. How’s this?

OK, I will stop boring you with my trip down quilting memory lane!

Have a great day!

Theresa

a tip I read

Well, here it is, Sunday night at 1:15pm. I’m getting tired and probably should go to bed but I thought I’d pass on a tip. I can’t remember where I read this but I thought it was a good one. When you ‘re making a quilt top and you have your rows ready to assemble. Take flat head pins and number them with a sharpie pen. When you pick up your blocks, you can keep track of which row is which by sticking that rows number  pin in them.

As you can see, I haven’t sewn on the monster quilt since Monday. I will try to sew the rows together tomorrow. I did quilt 4 customer quilts this week. In fact, I just took the 4th one off the machine, I was determined to finish it tonight before I went to bed. Oh well, back to the pins, I’m using them on the monster quilt. I usually tear little pieces of paper and number them for the rows but I think the pins will be nice. I’m going to keep them in their own pin cushion. That way I’ll have them ready when I need them.

Bob’s been here now for 2 weeks! He’s growing fast and has made this his home. We enjoy sitting on the patio and watching him run and play. He’s decided that my flowers are his jungle. He goes in and then peeks out through the leaves! He’s so funny. Well, that’s it for now. I’m going to bed!! It’s been a long day.

Theresa

new things to work with

Do you like to try new things? Here’s a few things that I’ve picked up recently.

One is a new ruler that has a moveable piece on it so that I can put it at the mark that I want to cut and the fabric doesn’t move under the ruler. Anyway, I think it’s a pretty neat ruler. The yellow piece has little lip type things that click onto the ruler.

The ruler is bendable so it’s easy to move the yellow part from cutting one size to another. The nice thing is that you just butt the ruler right up against the fabric and cut. You don’t have to worry about making sure that you’re on the right mark of the ruler.  Or that the ruler will slip while you cut. Anyway, I think it’s neat.

Another thing, is a little cutter. You can just push the blade out and snip threads. I think it’s great when I’ve chained a lot of pieces together, I can just use this and clip, clip, clip. I have one at my DSM as well as my LA machine. The blade stays out only if you push it to the end. If I’m just clipping a single thread I only push the blade out so far then it automatically goes back in.

The other thing I’ve gotten lately is the little wooden stick thing.LOL. I can’t think of it’s name!! A friend of mine gave these out at guild one night. She said they work great as stilettos. She picked up a bag of 50 for like $1.00. She breaks hers off about 4″ so it’s not so big. But hey, I feel sophisticated using that long stiletto! KInd of like the ladies back in the 20’s that used that long thing to put their cigarettes in. I don’t know why they did that, I guess it made them feel sophisticated! LOL!!

One last thing. How’s this for an iron? LOL!!! Mom and I were out running around one day and stopped at a Quilt shop and they had these near the register. I don’t know that I’ll ever use it but I bought it just cause it was CUTE! And you know some day I might need just a little iron for something.

Ok, that’s if for my gadgets. Let me know if you have any of these and if you like them.

Theresa

blocks are done w/layout

Yeah!!! I just finished all the blocks on the monster quilt. Now I have to sew them into rows and sew the rows together. whew!! So far I have not used 1 pin in assembling the quilt blocks. Sharon Schambers tip on using Elmers glue is great!! I now prefer to glue instead of pin. Oh well, I’m just happy that the blocks are sewn.

I better go make myself presentable as I have a lady coming to pick up her quilt pretty soon. Later if I have time I’ll lay out the blocks and see how it looks. Then it’s off to the LA machine to get some quilting done.

Have a great day!!

Theresa

Update………My lady came and picked up her quilt and I’ve laid the blocks out on the floor. I couldn’t put them on the design wall because I already have a quilt on there. See.I have the top row sewn together and the next 2 rows are stacked and ready to sew. The rest of them are waiting. Each star is a different print so I have to be careful not to turn them the wrong way. I also have to remember NOT to turn the fan on! Ask me how I know that?????? Luckily it only knocked half of the squares off.

Oh, I guess I’m getting a little carried away here! Back to the monster quilt. Here it is laid out on the floor. It will have 2 borders on it. A 2″ and a 4″. OK that’s it for now. I really need to go quilt. But how does the monster quilt look?

Theresa

I need a name

I need a name for the pattern I’m working on. (I absolutely hate having to come up with names for things.) I’d appreciate any suggestions! As soon as I get the pattern written up I’ll have to have a name on the pattern.This is the cat one. The monster one is the other one I’m working on and I have fabric to do one with fairies. Any ideas?

I’ve been cleaning house today and since my DH is off work this week on vacation, I’m not getting any quilting or sewing done. I’ve been doing things with him and other things that need to be done. I wanted the freezer moved from the basement upstairs so I got that done today. It gives me more room in my quilting area. Yeah! Now I can get to my whole pegboard with all my stencils hanging on it. Before the freezer was covering up the last 1/3 of it.I have room now to put my big ironing board up against the wall instead of out in the middle of the room. I had my dad put wheels on it so that I could move it around. He also put a shelf under it. Those big boards are nice but it was so heavy that my ironing boards weren’t sturdy enough.

I also realized today that 2 months from today, Pam and I will be leaving for Italy!!!! I have so much to do between now and then. I get nervous and anxious and afraid that I have to many quilts that I need to finish before we go, and that I won’t get them done. I’m going to have to work overtime on the quilt machine!!!!!!!

I better get something done. Have a great day and please let me know if you have any ideas for a name for the pattern.

Theresa