Design wall 11/20/17 diamond string quilt top

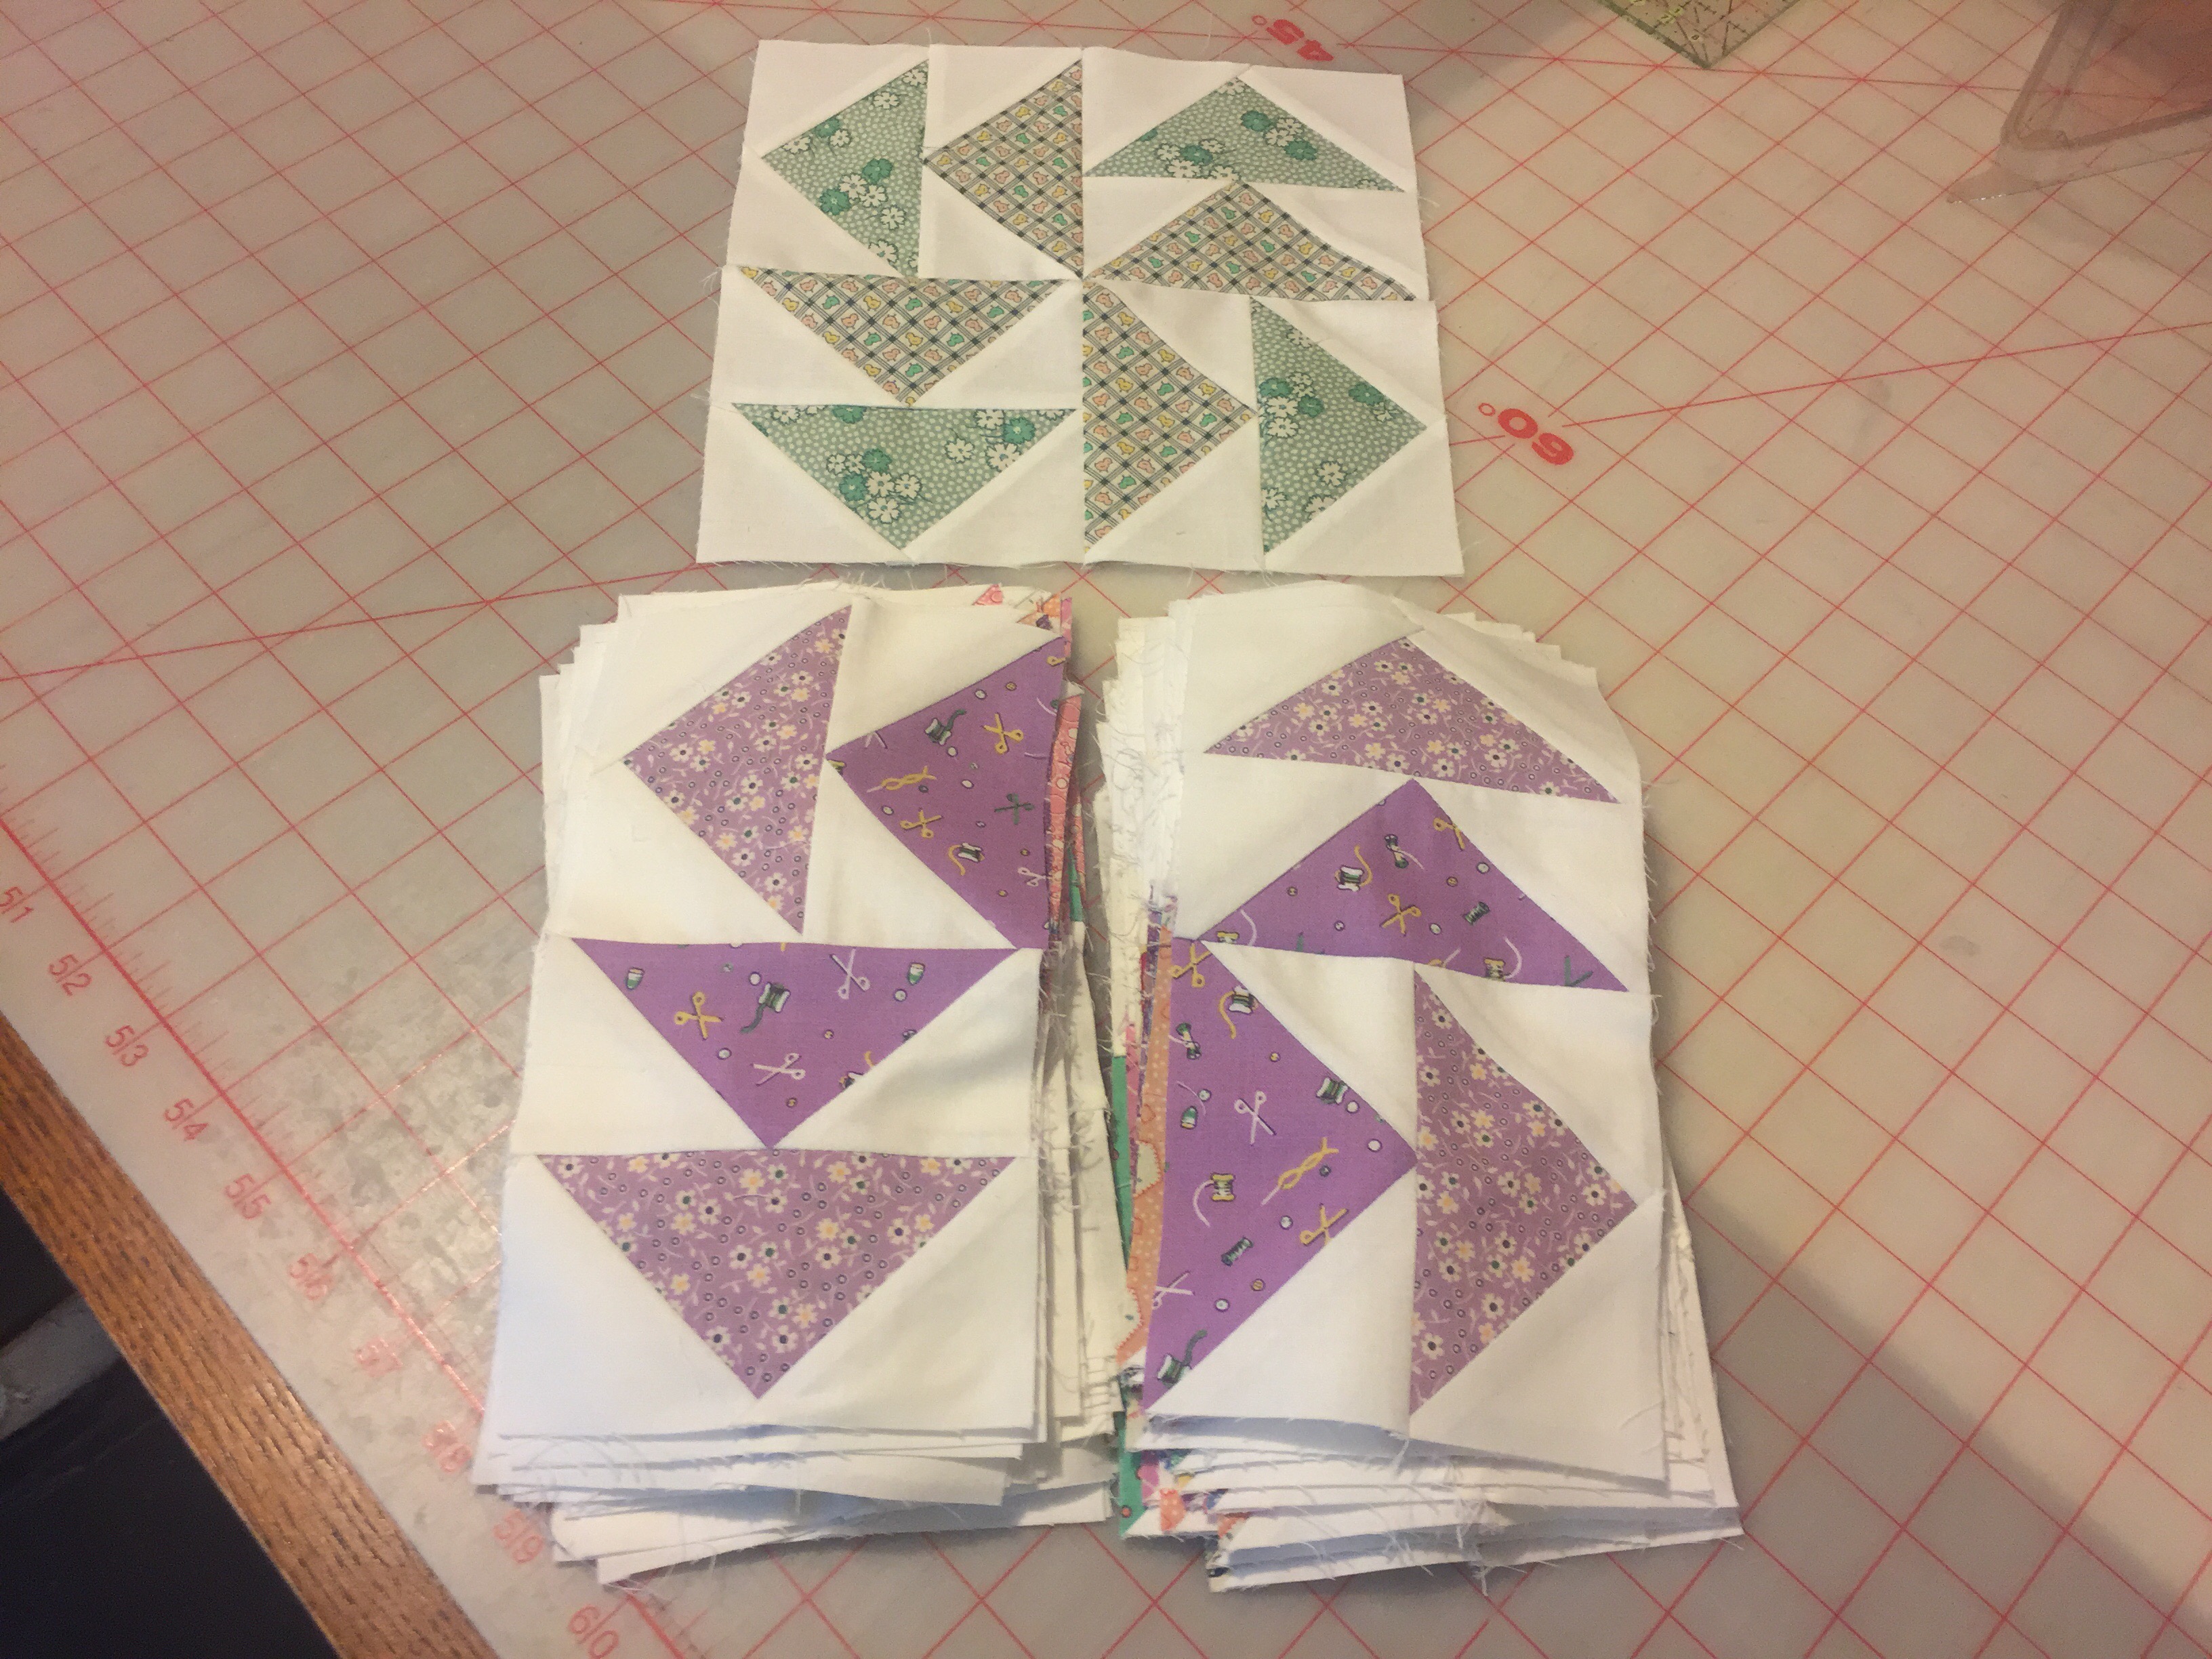
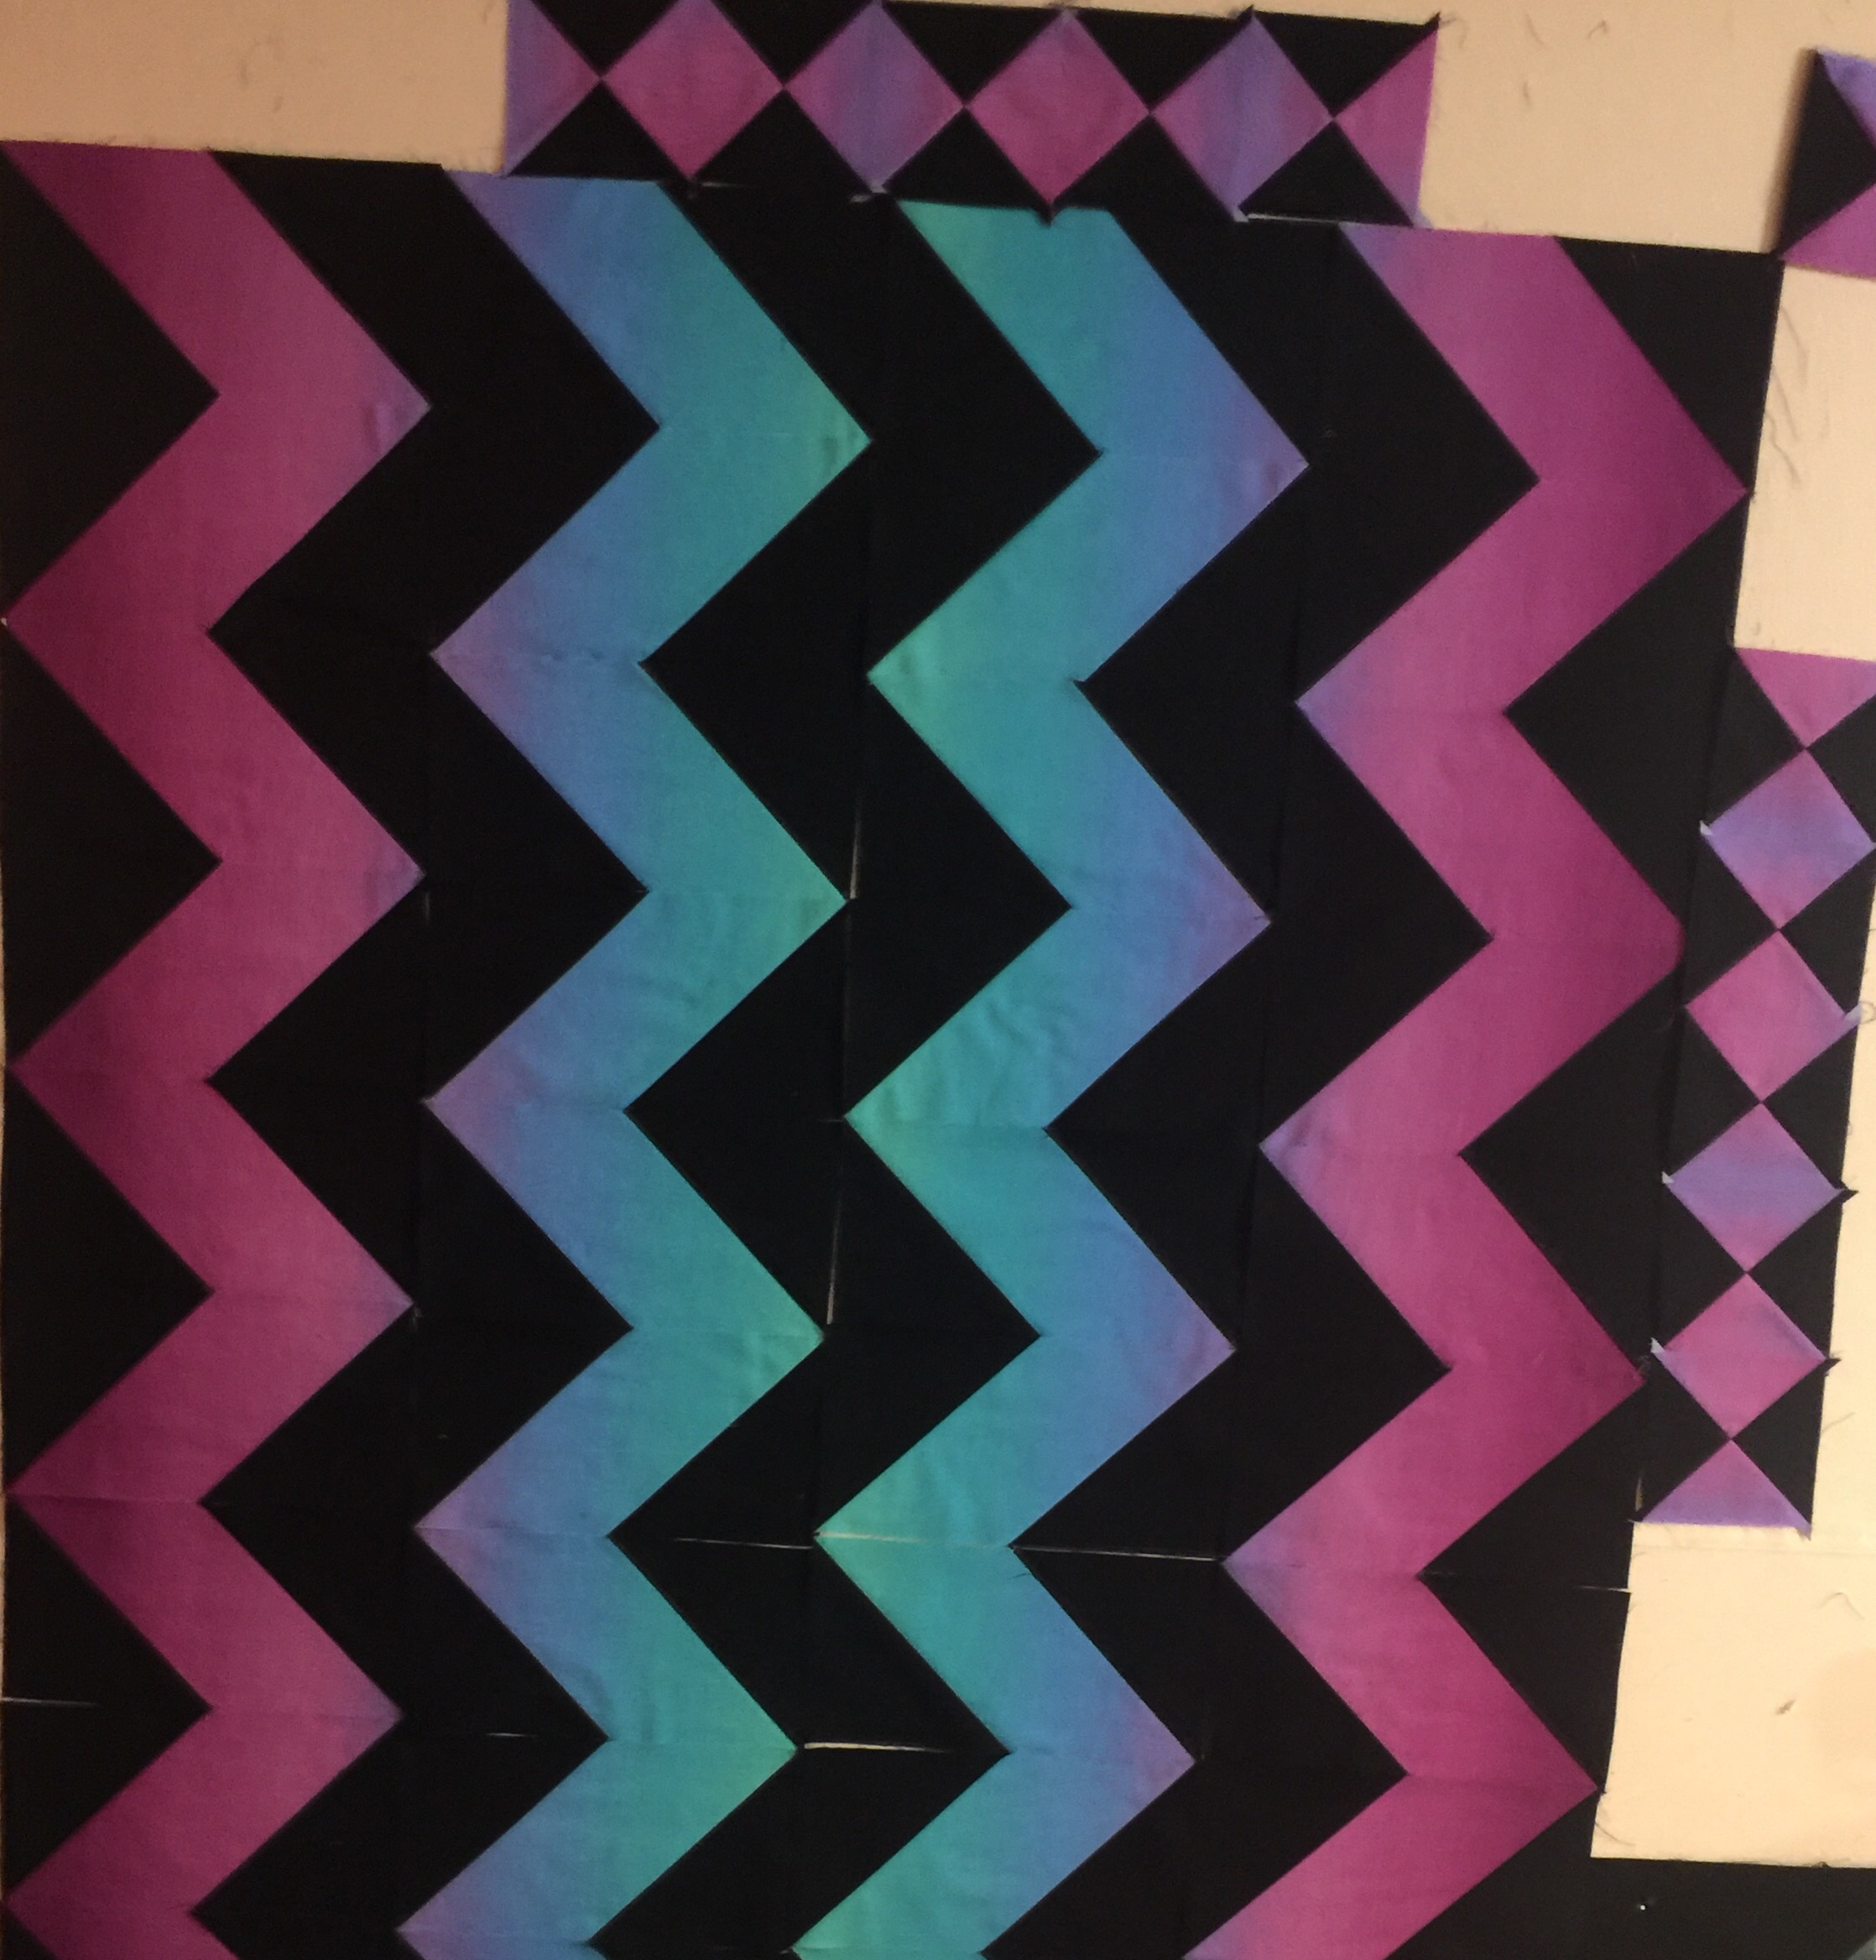
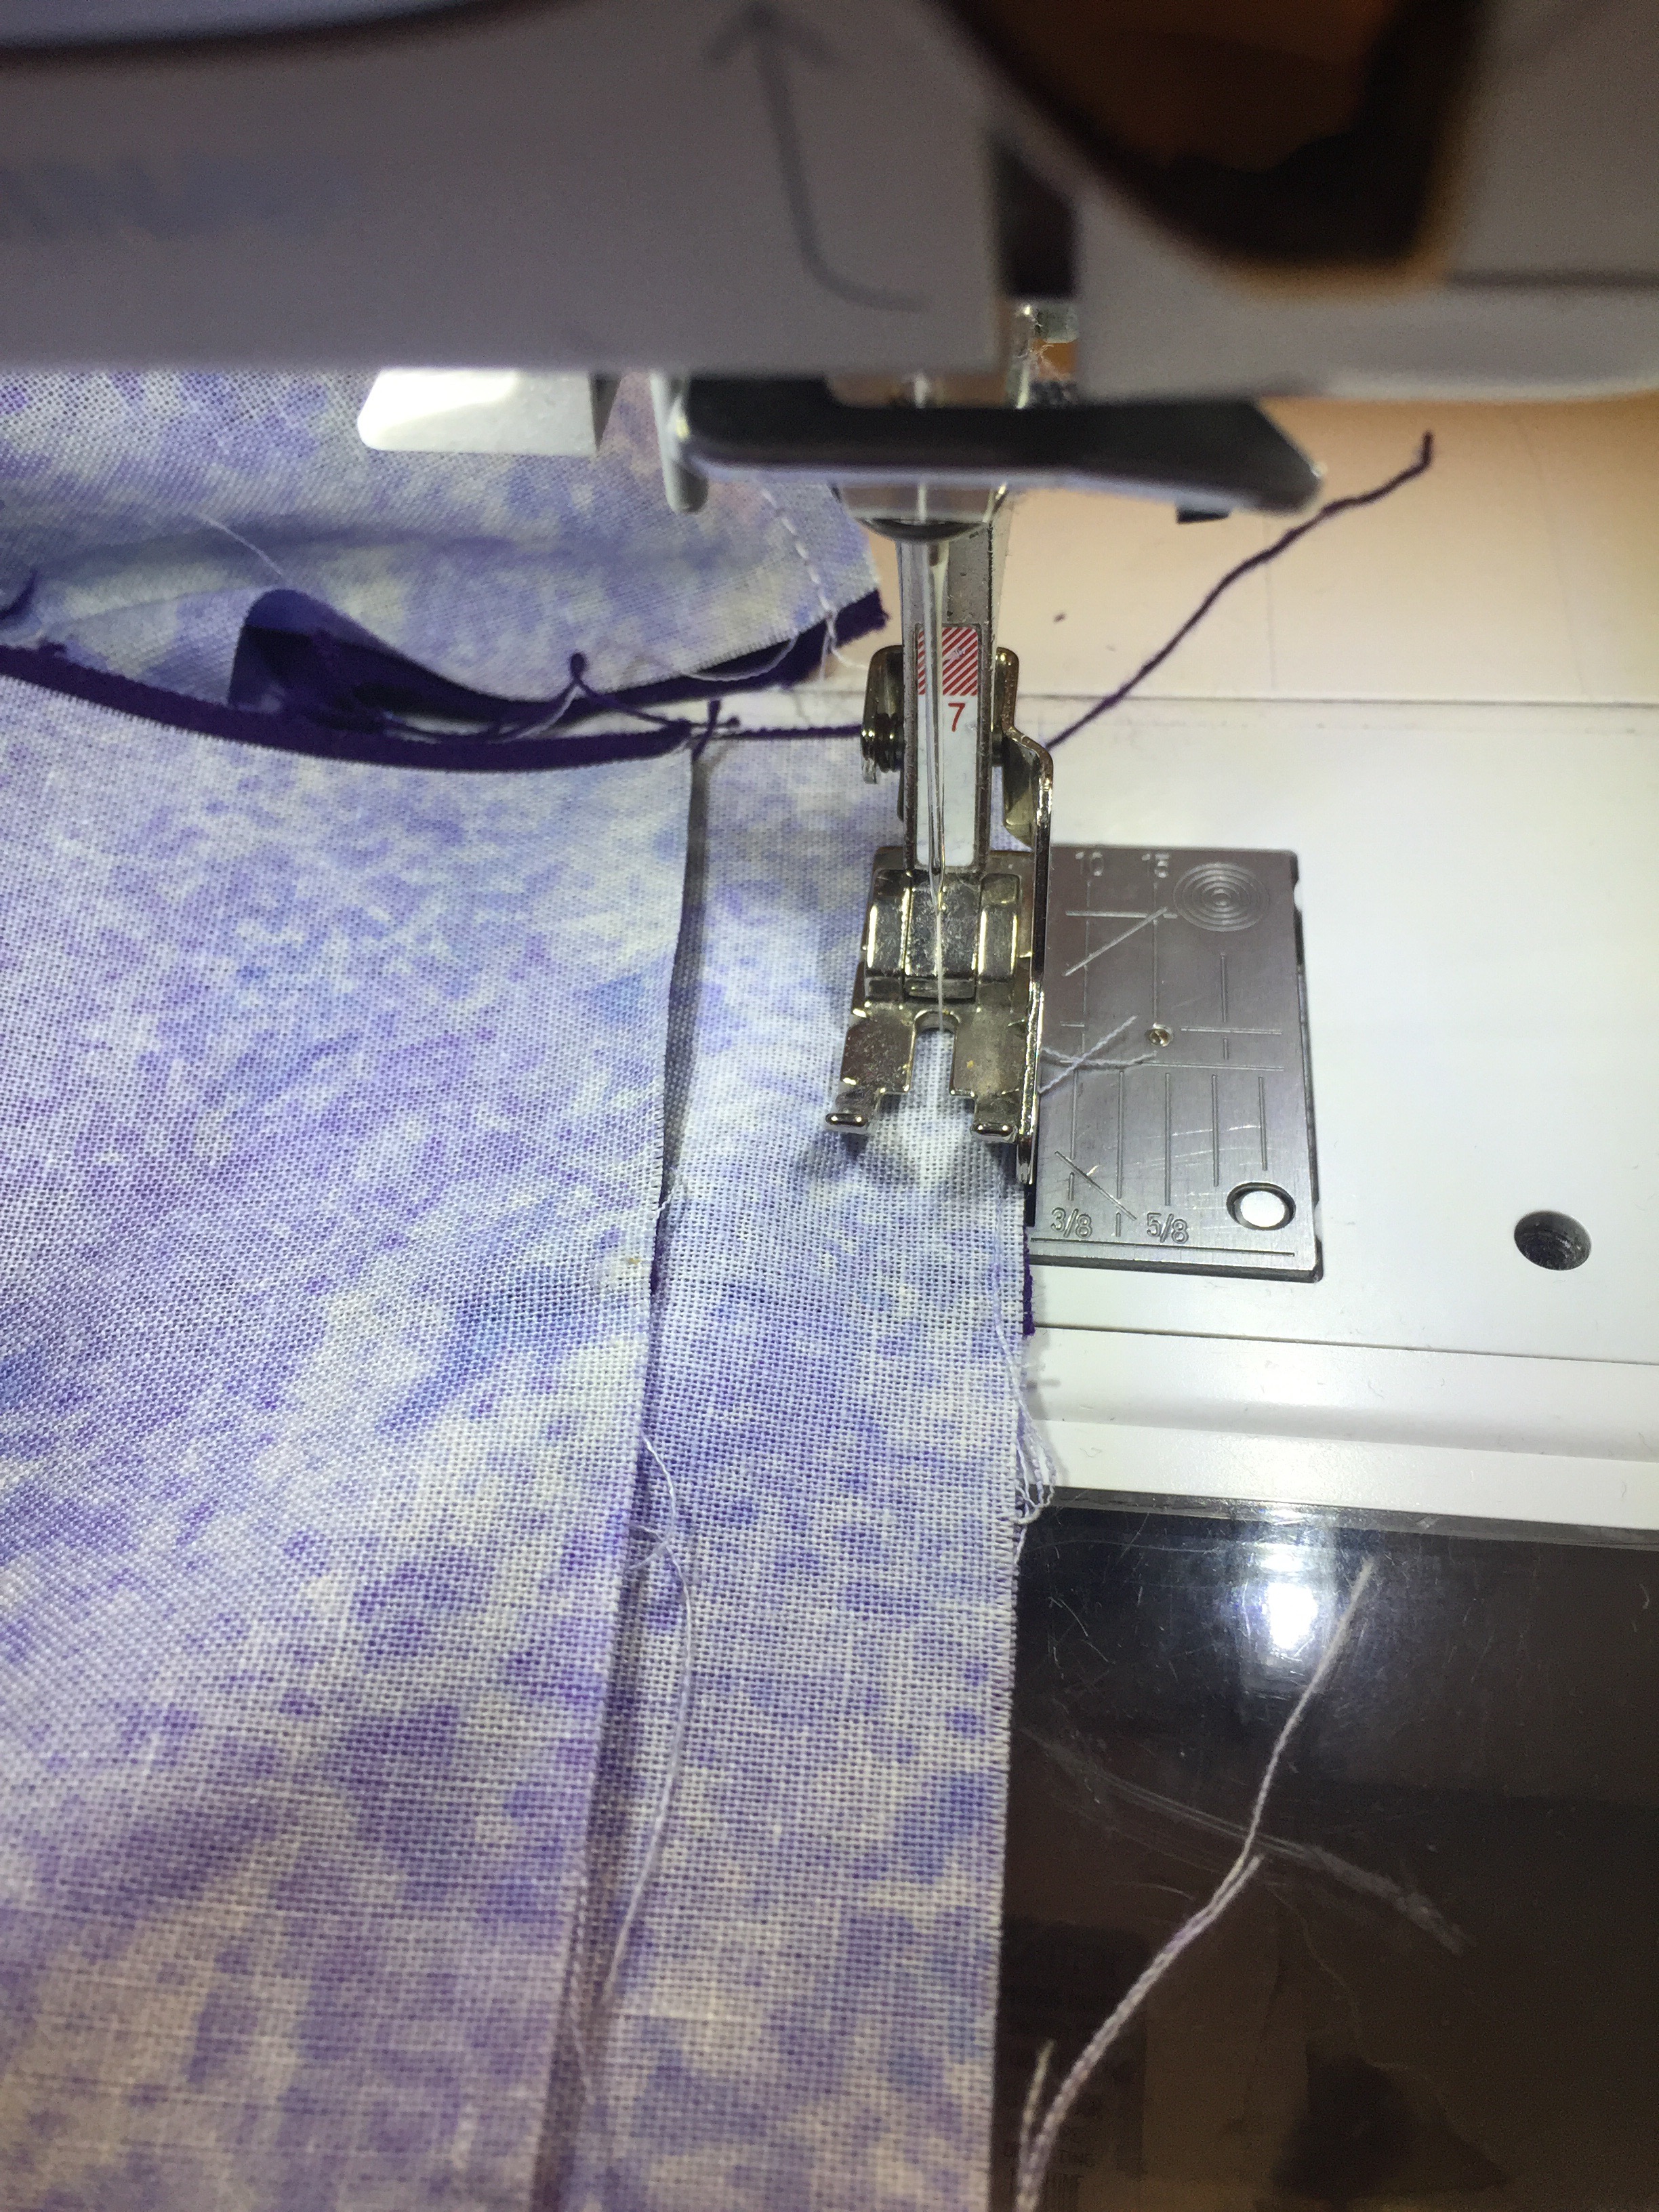
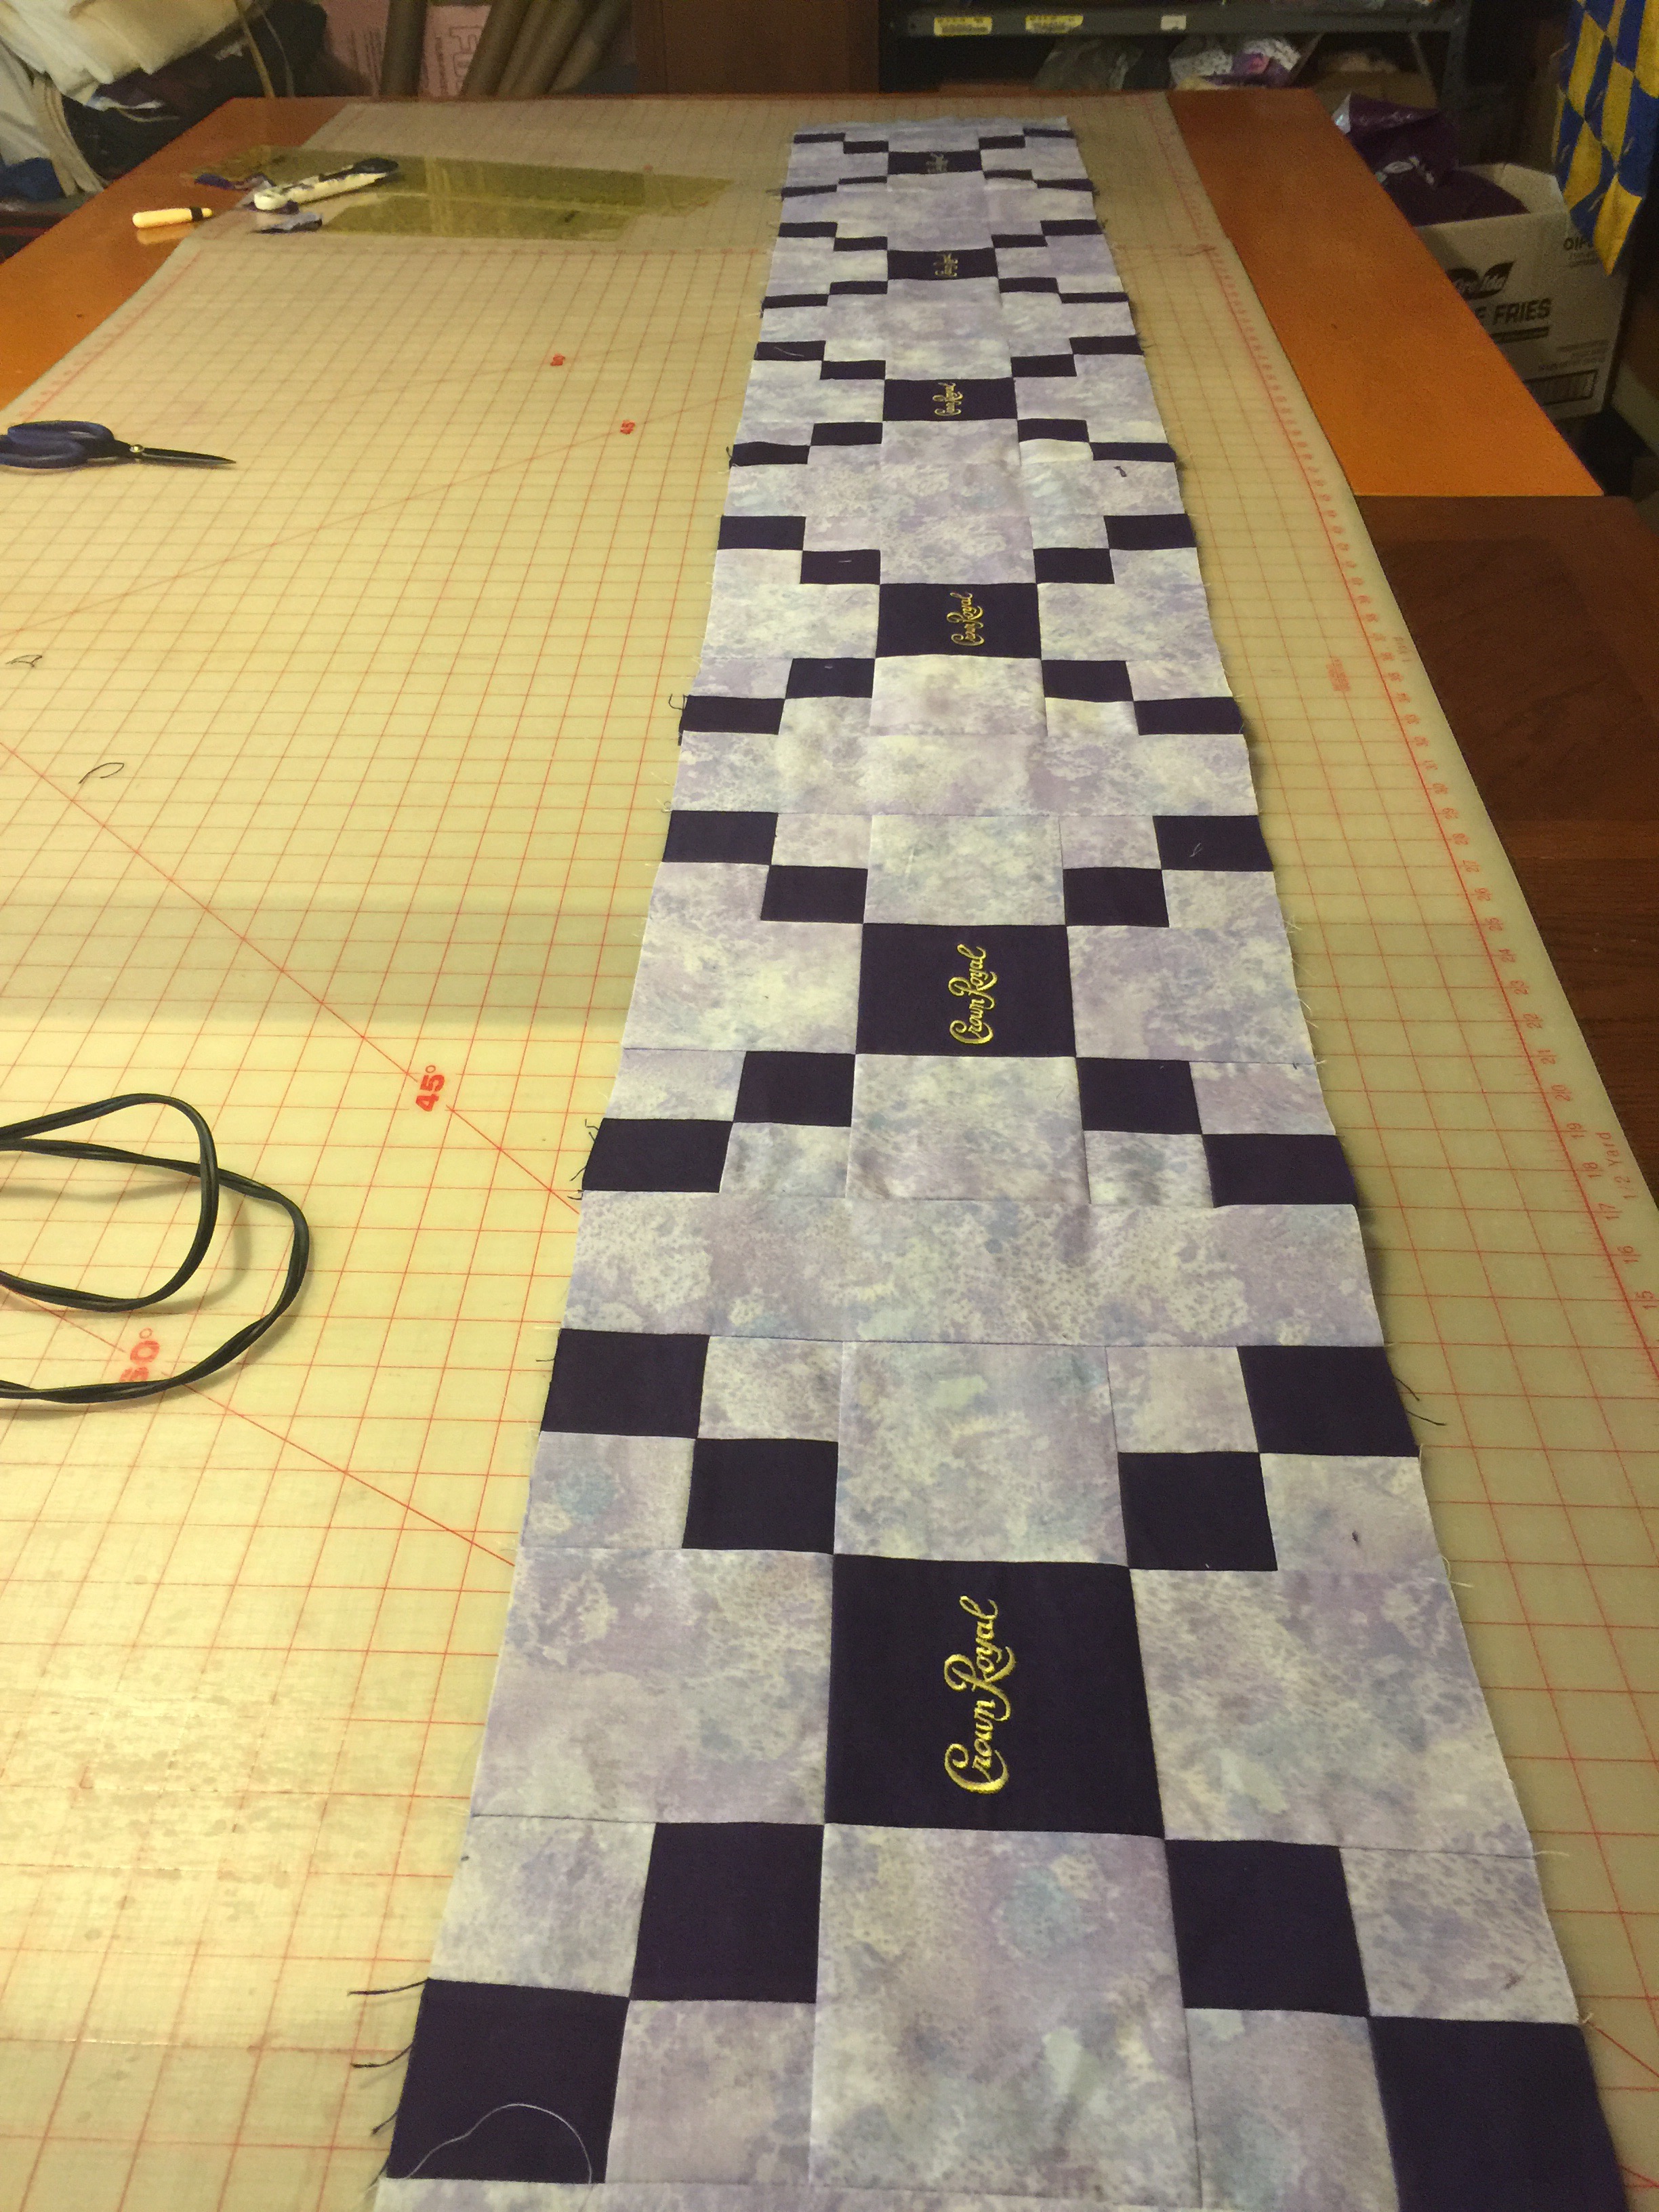
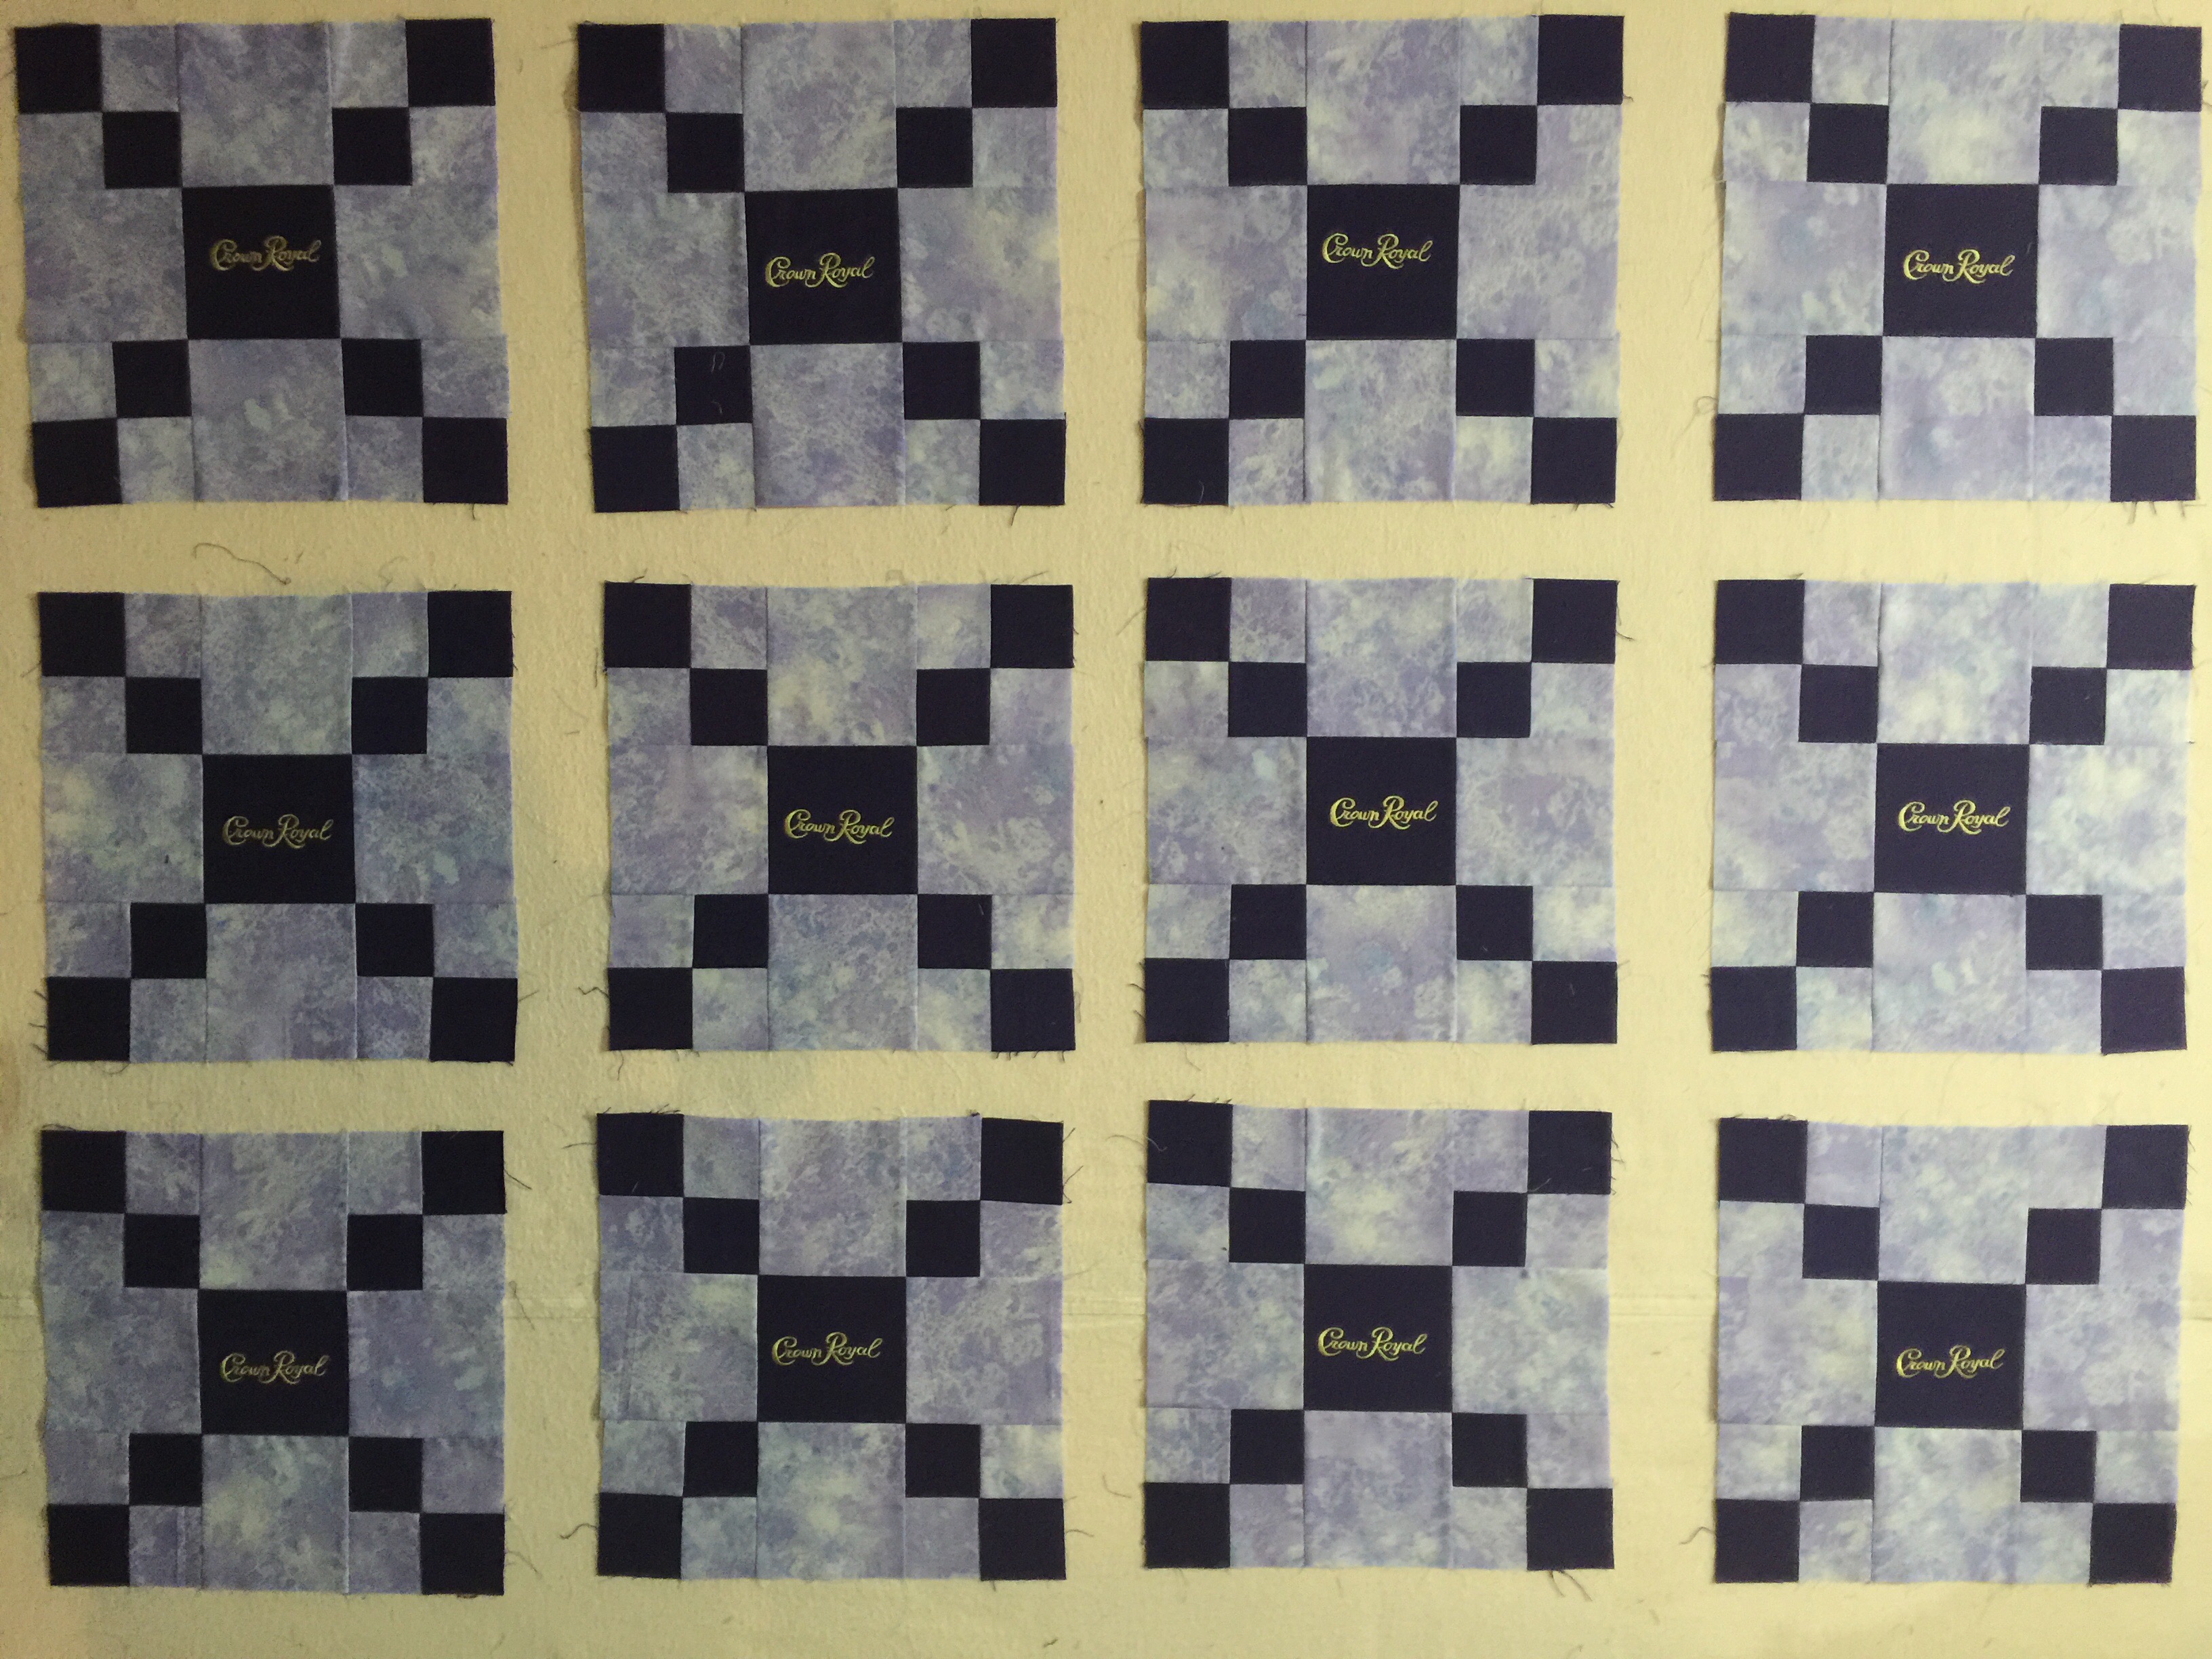
I made slow progress on getting the rows sewn together. I’ve been busy with machine quilting, so my sewing time has been limited. I wasn’t too sure about using that color for the background but I had another color that looked good with it that I could use for the border. (I’m trying to use up my stash).

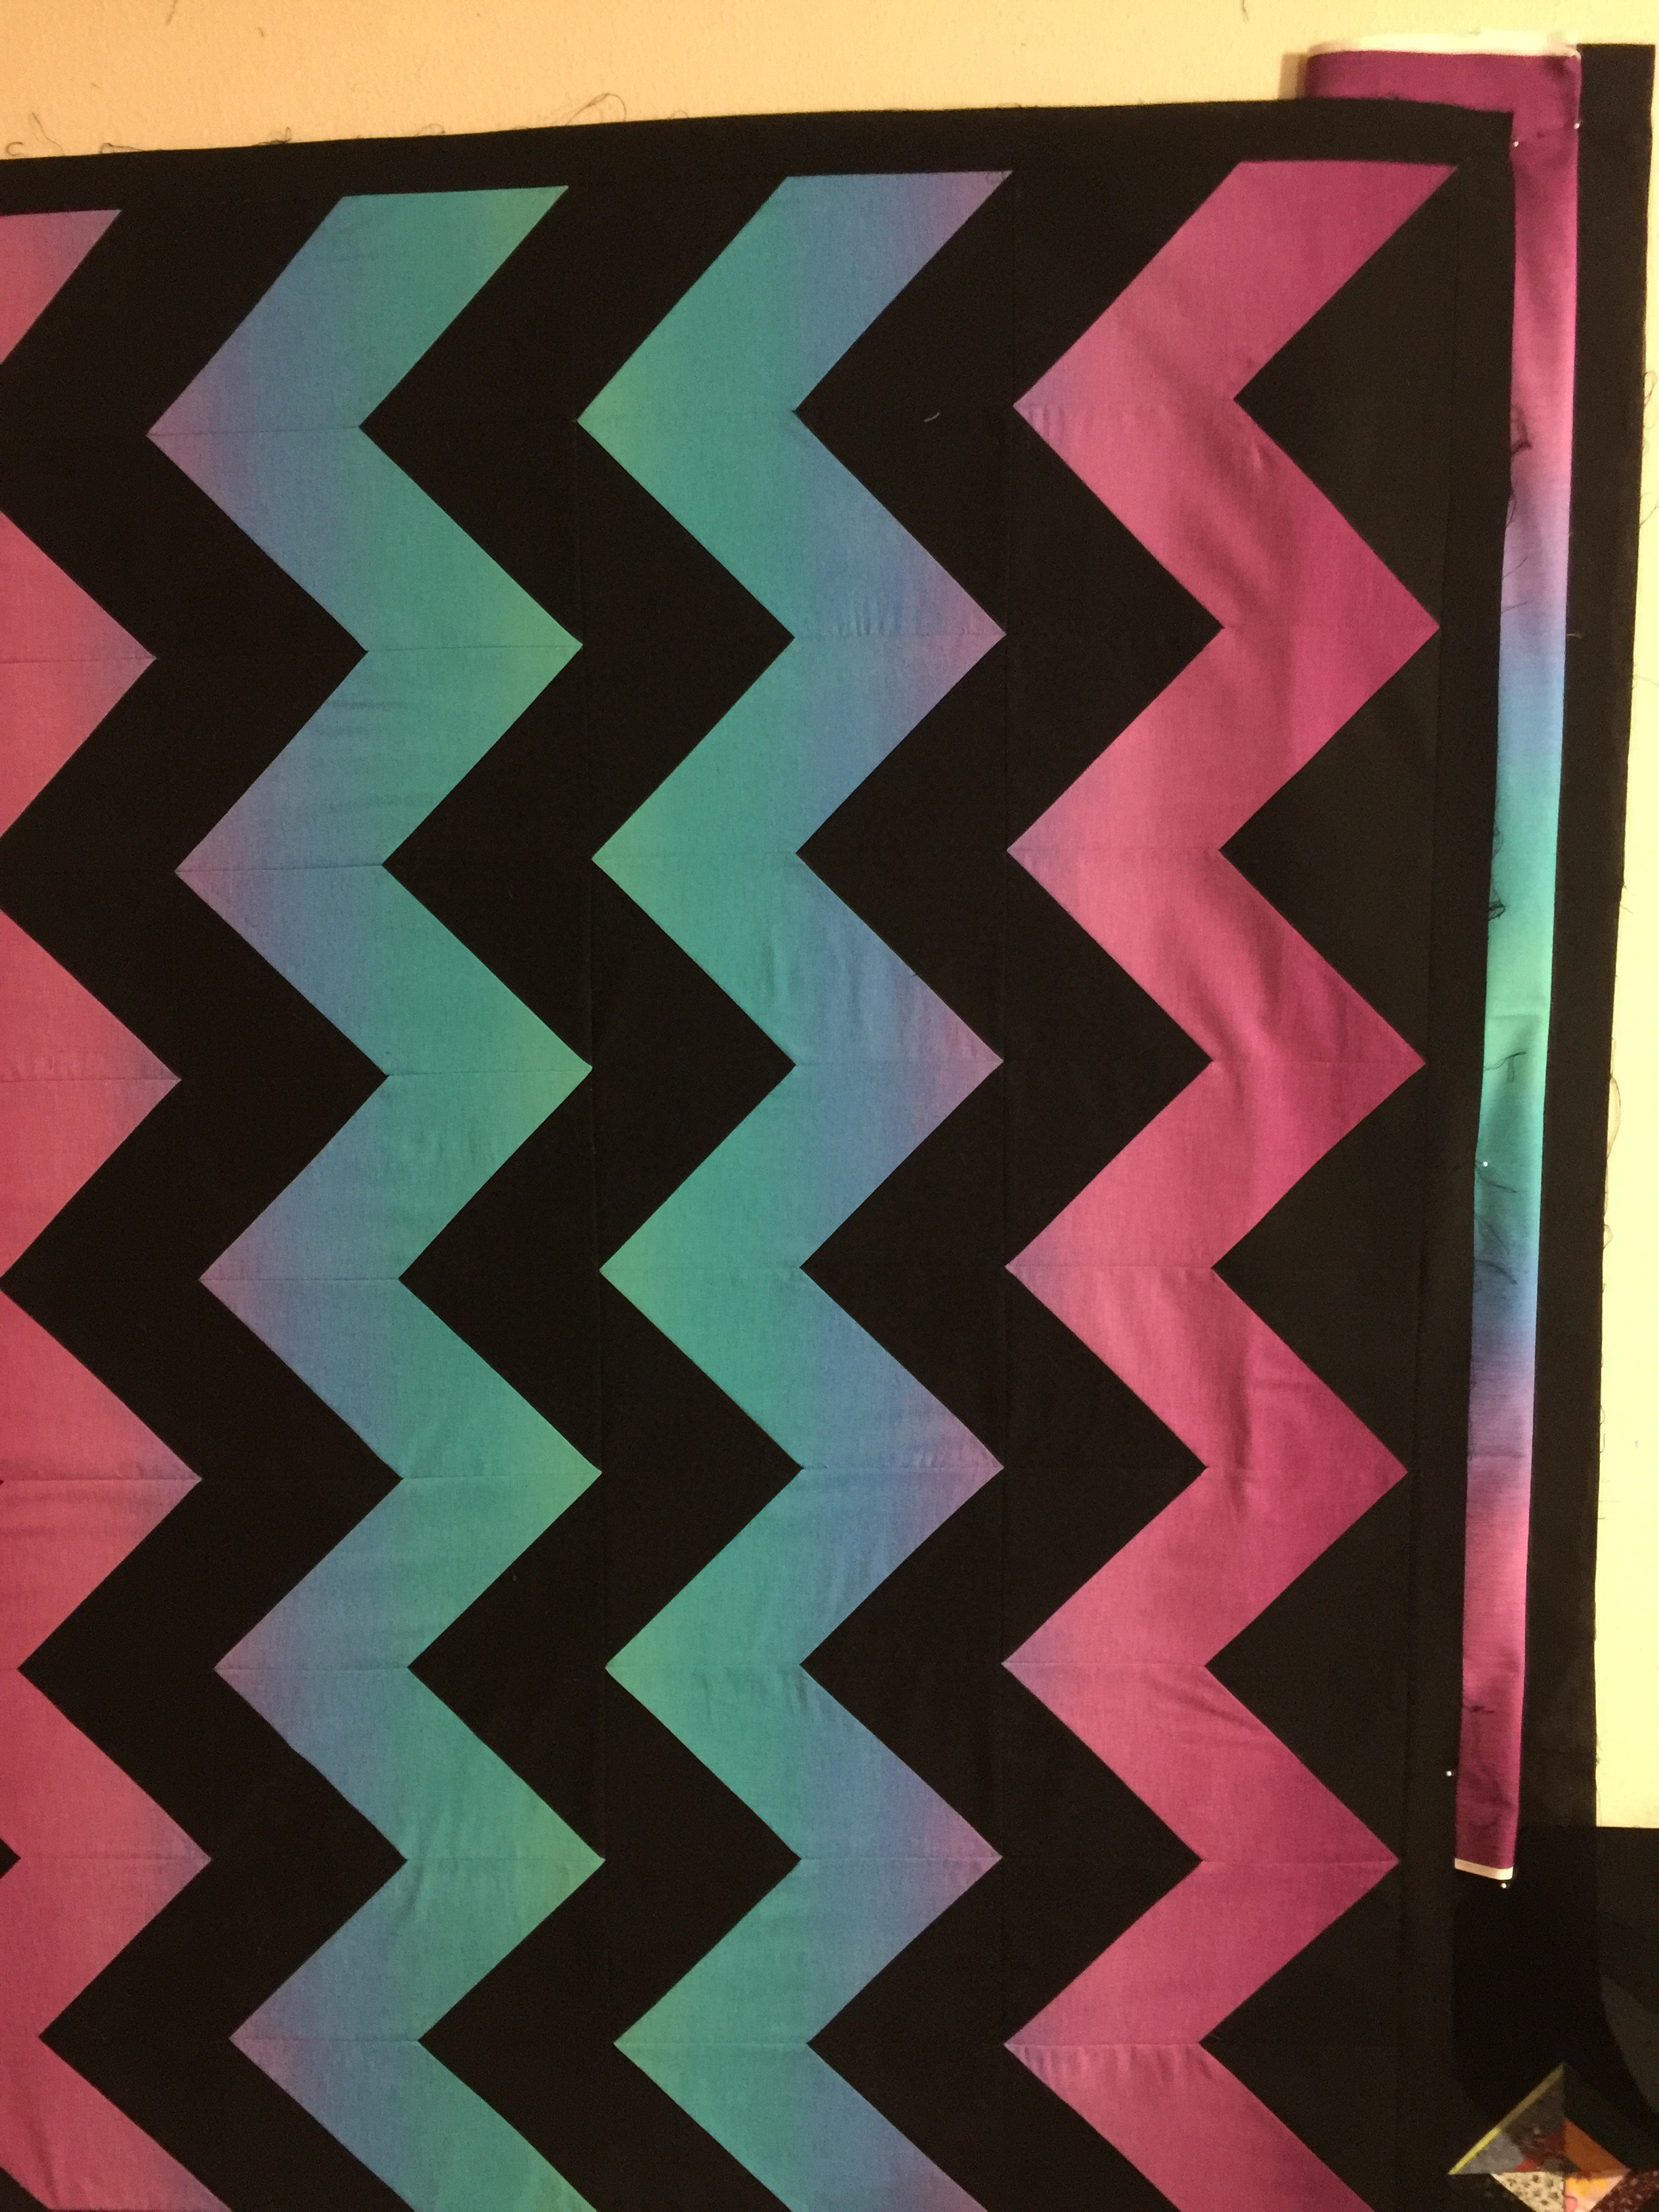
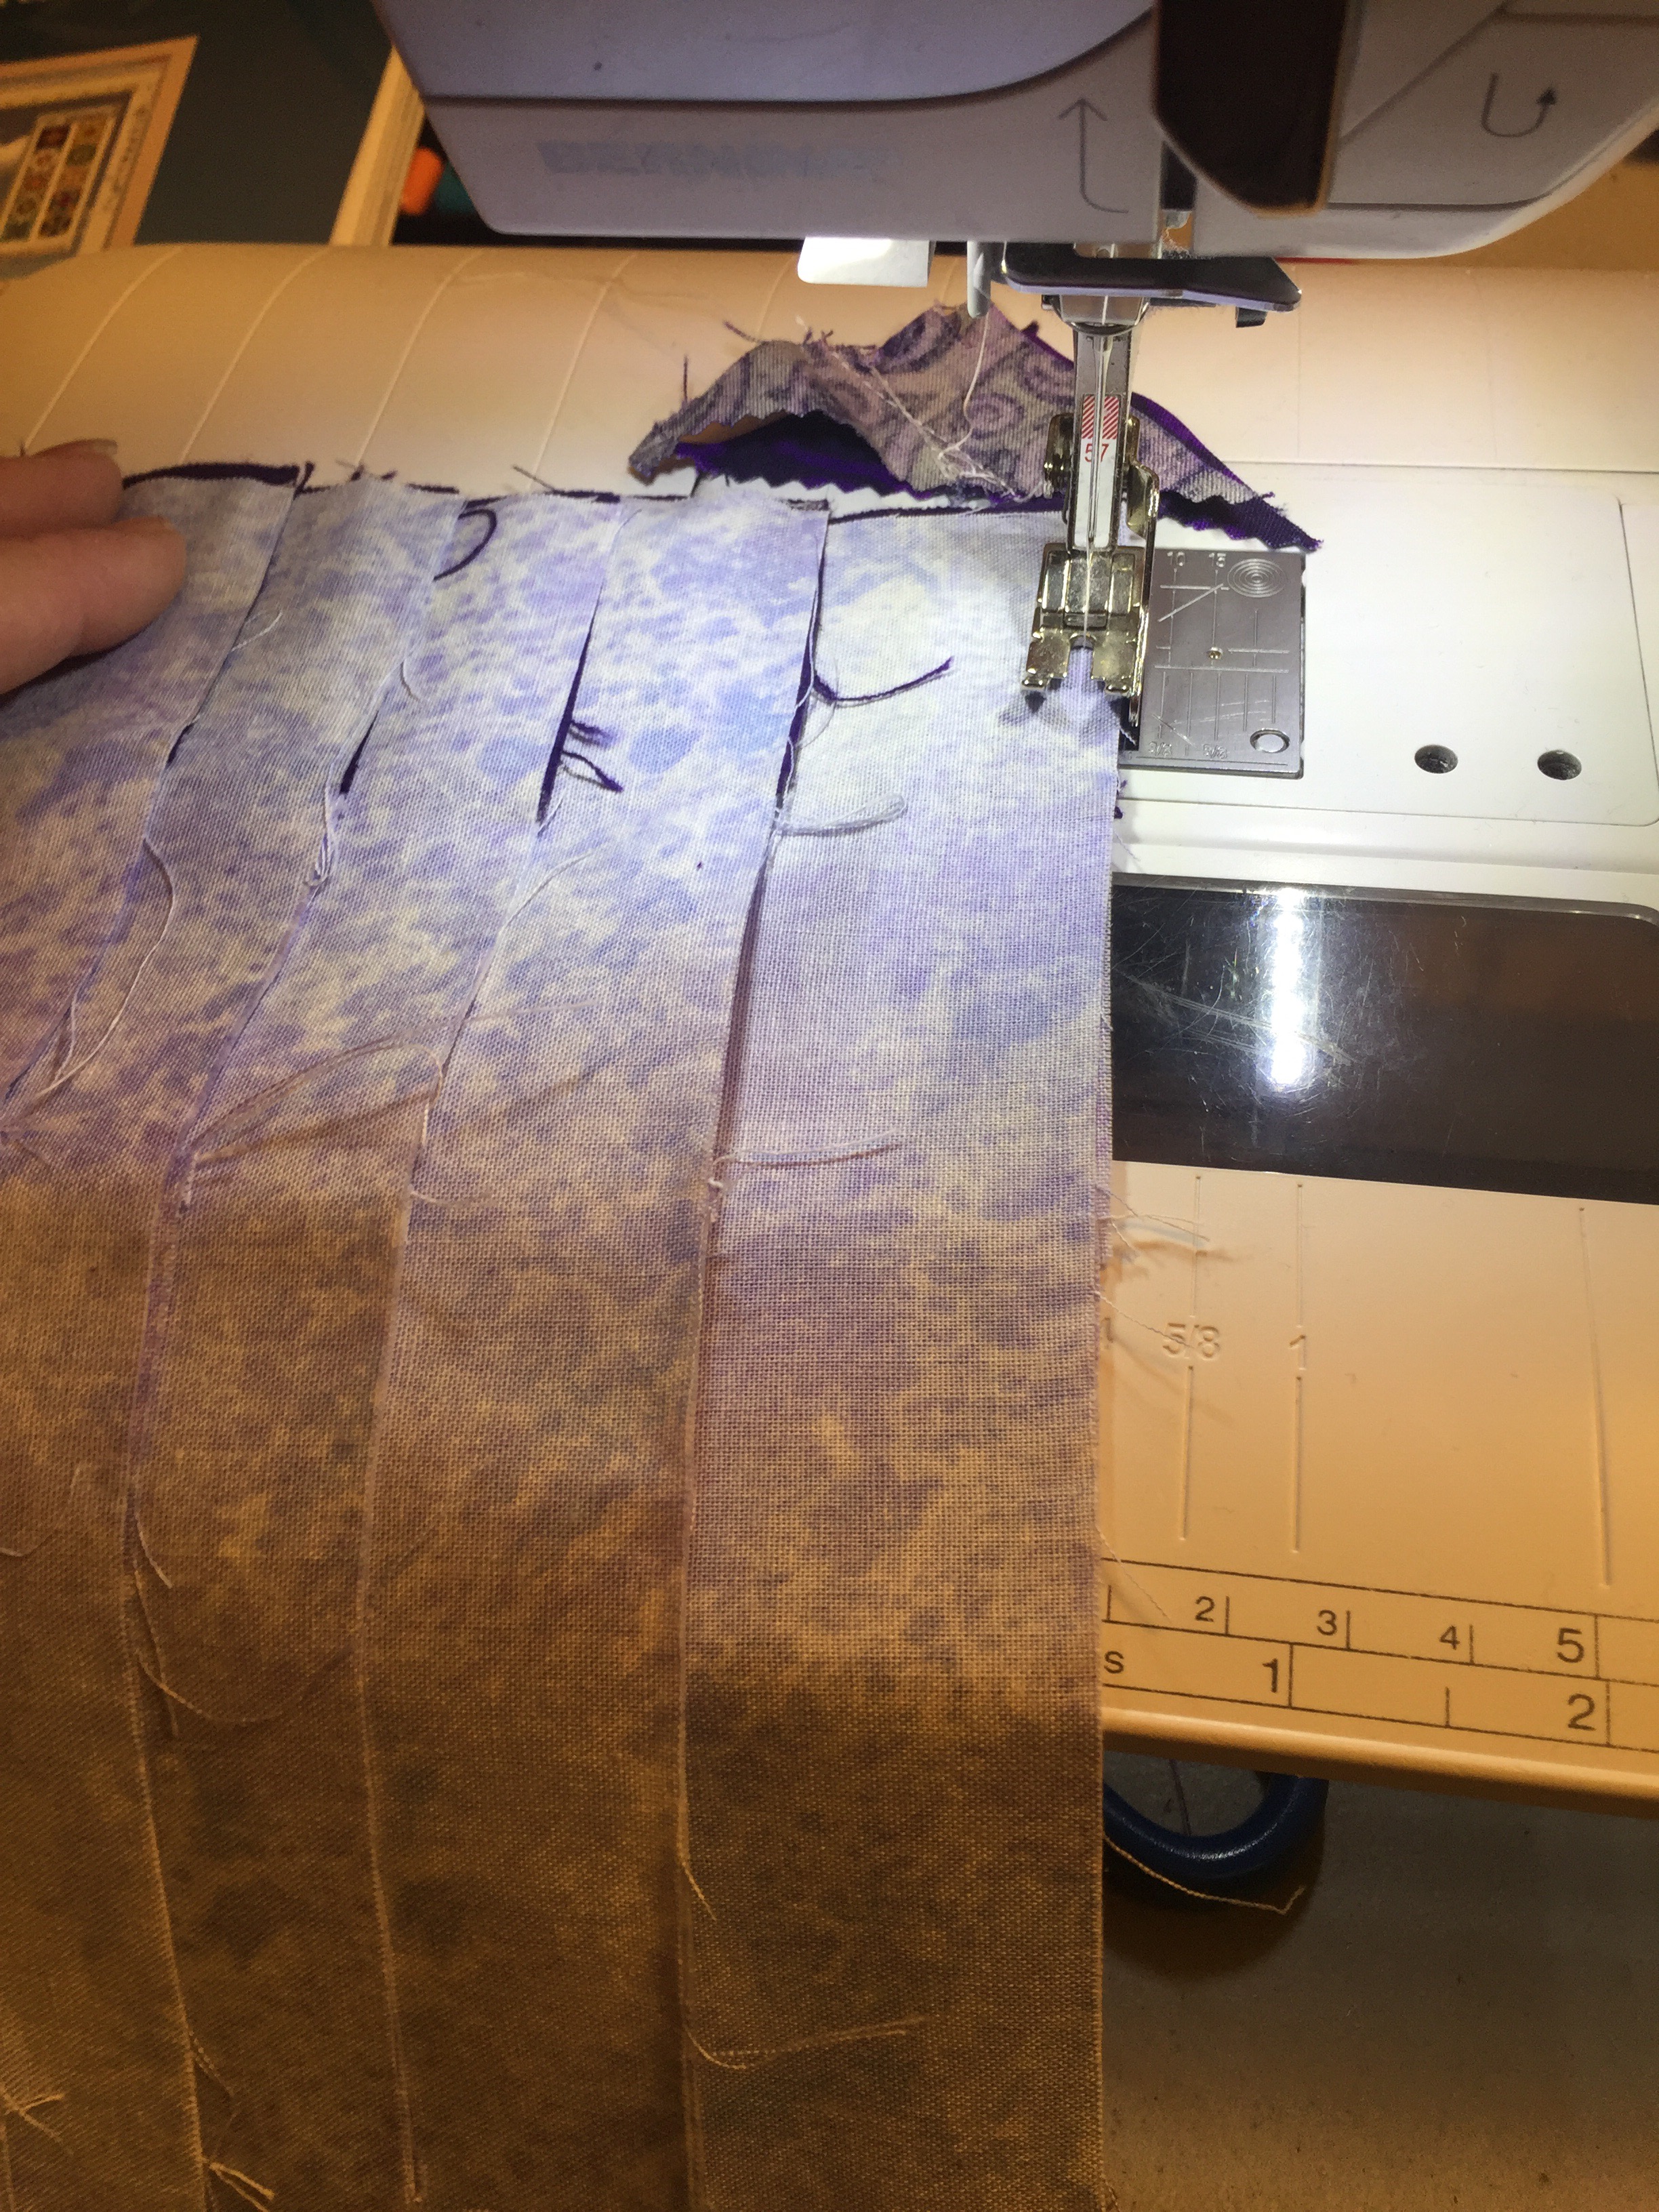
Anyway, after getting the rows completed, I got the border sewn on and then wondered what I would use for the backing. I didn’t think I would have anything that would look good, but I got lucky and found a couple pieces of leftover fabric that match perfect! I sewed the pieces together and now it’s ready to be quilted. I used the last of the border fabric and cut the binding.

More stash used!! Yea!

The quilt top is on my design wall, since I won’t have time to sew for awhile, I’ll just keep it up there to have some color on the wall. Check out more design walls at http://smallquiltsanddollquilts.blogspot.com/2017/11/design-wall-monday-november-20-2017.html?m=1

That’s it for now. Have a great week!

Theresa

Design wall 10/2/17 string pieced border

I am not one that usually does a pieced border. By the time I get the quilt top made, I just want to get those borders sewn on, so that I can get to my next project. For the current string quilt I’m making, I decided that I would put a pieced border on it. I was surprised at how quickly I was able to make these. Now to get them finished up and on to the quilt.😀

To see what others are working on check out http://smallquiltsanddollquilts.blogspot.com/2017/10/design-wall-monday-october-2-2017.html?m=1

Theresa

Design wall 2/27/17 bindings

Actually my design wall is bare at the moment………I made a quilt last week using our Triple Play pattern. Here it is without the borders added on. 

I used two different marbled fabrics from The Quilted Treasures line.  It’s now finished, quilted and in the stack of bindings that I need to finish. I usually try to finish the bindings before the stack gets out of hand but this time they got away from me! I have 8 that are ready to sew the bindings down. 

So nothing is on my design wall this week. But there’s plenty on my plate. Bindings…….

Design wall 1/16/17 Dutchman’s puzzle blocks

We are having a row by row exchange next month at my guild and the theme is 1930’s prints. I decided not to procrastinate this time and get them done early. I still need to sew the 2 halves of the blocks together and then make 6 rows with 6 blocks in each of them. Good thing I started early on these. One down, 35 more to go……..👍🏻

Check out more walls at www.patchworktimes.com

Theresa

Design wall 11/14/16 gelato zig zag

I got an idea a while back about using EE Schenk’s gelato fabric in a zig zag design. I have a few of the different colors that it comes in, and since I wasn’t sure how it would turn out, I went with one that doesn’t have a big noticeable change in the colors.


I played around with maybe doing a pieced border of some kind, but decided against that idea.


I’m just going to make a simple border and let the colors make a design around the quilt. 

Much faster! Then I can move on to  another project. Maybe I’ll try another zig zag with one of these colors. I think the top one would look good.😀 but for today, that’s what’s on my design wall. Check out more design walls at www.patchworktimes.com

Theresa

I’m a gluer….😀

I know some people are against using glue in the construction of thier quilts, but I am “not” one of those people. I love how easy it is to glue the pieces together and then just sit down at the sewing machine and sew.  I’ve been working on the crown royal blocks, which has really gone together quick! I like doing things that are quick, that way I can get more things done.

I thought I would share a bit of the glueing process with you today. I had all the blocks made and there is a sashing strip that goes in between each block. I sewed a sashing strip onto the right side of each block (the first block has a sashing on both sides).  Here’s where using the glue really speeds up the process.

Starting with the first block, I glued the blocks together one by one, making sure they were in the correct order. After glueing the first 2 blocks together, I would fold up the block on top and then with rights sides together, glue the next block on and repeat that process until all blocks were glued together.


I then picked up the stack and moved  to the sewing machine.

Keeping the blocks stacked, I started sewing.


When I reached the end of the first block, I chain pieced to the next block.

I continued to keep them stacked while chain piecing the blocks.

When I finished the last block, all I had to do was clip the threads between the blocks…….

Tadah! Row is complete. No blocks accedentally turned, no pins to fuss with or get poked by. Only took a few minutes to have all the blocks sewn into rows.

That’s it for now. Next step will be to glue the sashings onto each row and then take my pile of rows to the sewing machine and chain piece them. Yep, I like using glue!😳

Theresa

Design wall 10/3/16 Crown Royal blocks

I’m slowly making progress on the blocks. I sew a little on them when I get time. I have 24 sewn and I need 36 blocks for the quilt, so I’m more than halfway done with making the blocks. I have the sashings and cornerstones all cut and ready to go, so hopefully I can get the blocks finished soon and move on to assembling the quilt top. 😀


It’s going to outgrow my design wall soon. But for today, that’s my wall. To see more walls check out http://www.patchworktimes.com

Theresa

6 weeks and counting

Gee, I can’t believe that 6 weeks from today Pam and I will be heading to Italy!! I’m so excited!!!

I had  backpacks made for me and Pam to carry (in place of our purses) while we’re traveling. Several months ago the speaker at our guild was showing quilted purses and bags, so I asked if she could make a couple for me. I quilted the fabric and gave it to her. I just got them back! Yeah!!  She did a wonderful job of making them.

They are pretty big, so we should be able to carry a lot in them. More than in our purses.  We are limited on how much we can take with us. I suitcase and one carry on each. After that they charge.$$$

We can unzip the zipper and it becomes a backpack.

It also has pockets around the inside. I don’t know what pattern she used, but I could find out if you’re interested in making one for yourself.

Well, I quess that’s it for now.

Have a great day!

Theresa