Design wall 10/2/17 string pieced border

I am not one that usually does a pieced border. By the time I get the quilt top made, I just want to get those borders sewn on, so that I can get to my next project. For the current string quilt I’m making, I decided that I would put a pieced border on it. I was surprised at how quickly I was able to make these. Now to get them finished up and on to the quilt.😀

To see what others are working on check out http://smallquiltsanddollquilts.blogspot.com/2017/10/design-wall-monday-october-2-2017.html?m=1

Theresa

Design wall 1/16/17 Dutchman’s puzzle blocks

We are having a row by row exchange next month at my guild and the theme is 1930’s prints. I decided not to procrastinate this time and get them done early. I still need to sew the 2 halves of the blocks together and then make 6 rows with 6 blocks in each of them. Good thing I started early on these. One down, 35 more to go……..👍🏻

Check out more walls at www.patchworktimes.com

Theresa

Ruby’s treasures blog hop winner.

I hope everyone enjoyed the blog hop featuring the Ruby’s treasures fabric line from Barb Eikmiere. After being asked to participate in the hop and deciding which block I would showcase, I thought about an old box of old Kansas City Star patterns that I had. I dug the box out and discovered that I have 49 original patterns from the Star newspaper that were Ruby McKims designs.

I didn’t know at the time that I had picked a design from one of the patterns that I had.


I looked through all my patterns to see if I had any of the patterns that the other hop hosts had used. I didn’t, but I do have the one that Barb made using the beggar block pattern and her Ruby’s treasure fabric line.


What fun it was to discover that I had the original block pattern that had been published in the paper.

I hope you enjoyed the blog hop and the winners are  Gloria Cotten  for the fat quarter bundle and Kathy Cummings Slaughter for my e-book.  Congrats ladies!

Have fun and enjoy using The Ruby’s treasures fabric line!

Theresa

http://www.101patchworkpatterns.com/

https://alwaysquilts.com/2016/11/08/rubys-treasures-blog-hop/

Design wall 12/5/16 purple string quilt

I have become so addicted to string quilts. Whether I’m making squares or sashing units,it doesn’t matter. I just love sewing those strings together and coming up with different ways to put them together into quilts!
I bought these blocks online probably 16 years or so ago. At the time I thought it would be a fast way to put a quilt together  (save time by not having to piece the blocks) and have something to practice my machine quilting on.

Needless to say, I never did get them made into a quilt top.

I always knew I had them in a box somewhere………but where?????

I finally ran across them this last week and knew exactly what I wanted to do with them. I started pulling purple strings from my string basket and cutting a few more.

I’m hoping to find time this week to work on getting the sashings finished. I have all the string pieces made, just need to sew them together to make the sashing units.

But right now I have to get back to the longarm. Check out more design walls at wwwpatchworktimes.com

Theresa

Design wall 10/17/16 string blocks

I decided a while back to use some Kaffe fabrics for a string quilt. The quilt I made had some leftover blocks so I played around with them and decided on this layout. I added sashings and cornerstones, now it’s time for borders.


I’m planning to use more of the orange fabric for a small border then use another Kaffe print for the outside border.

That’s what’s on my wall today. To see more walls check out www.patchworktimes.com

Theresa

I’m a gluer….😀

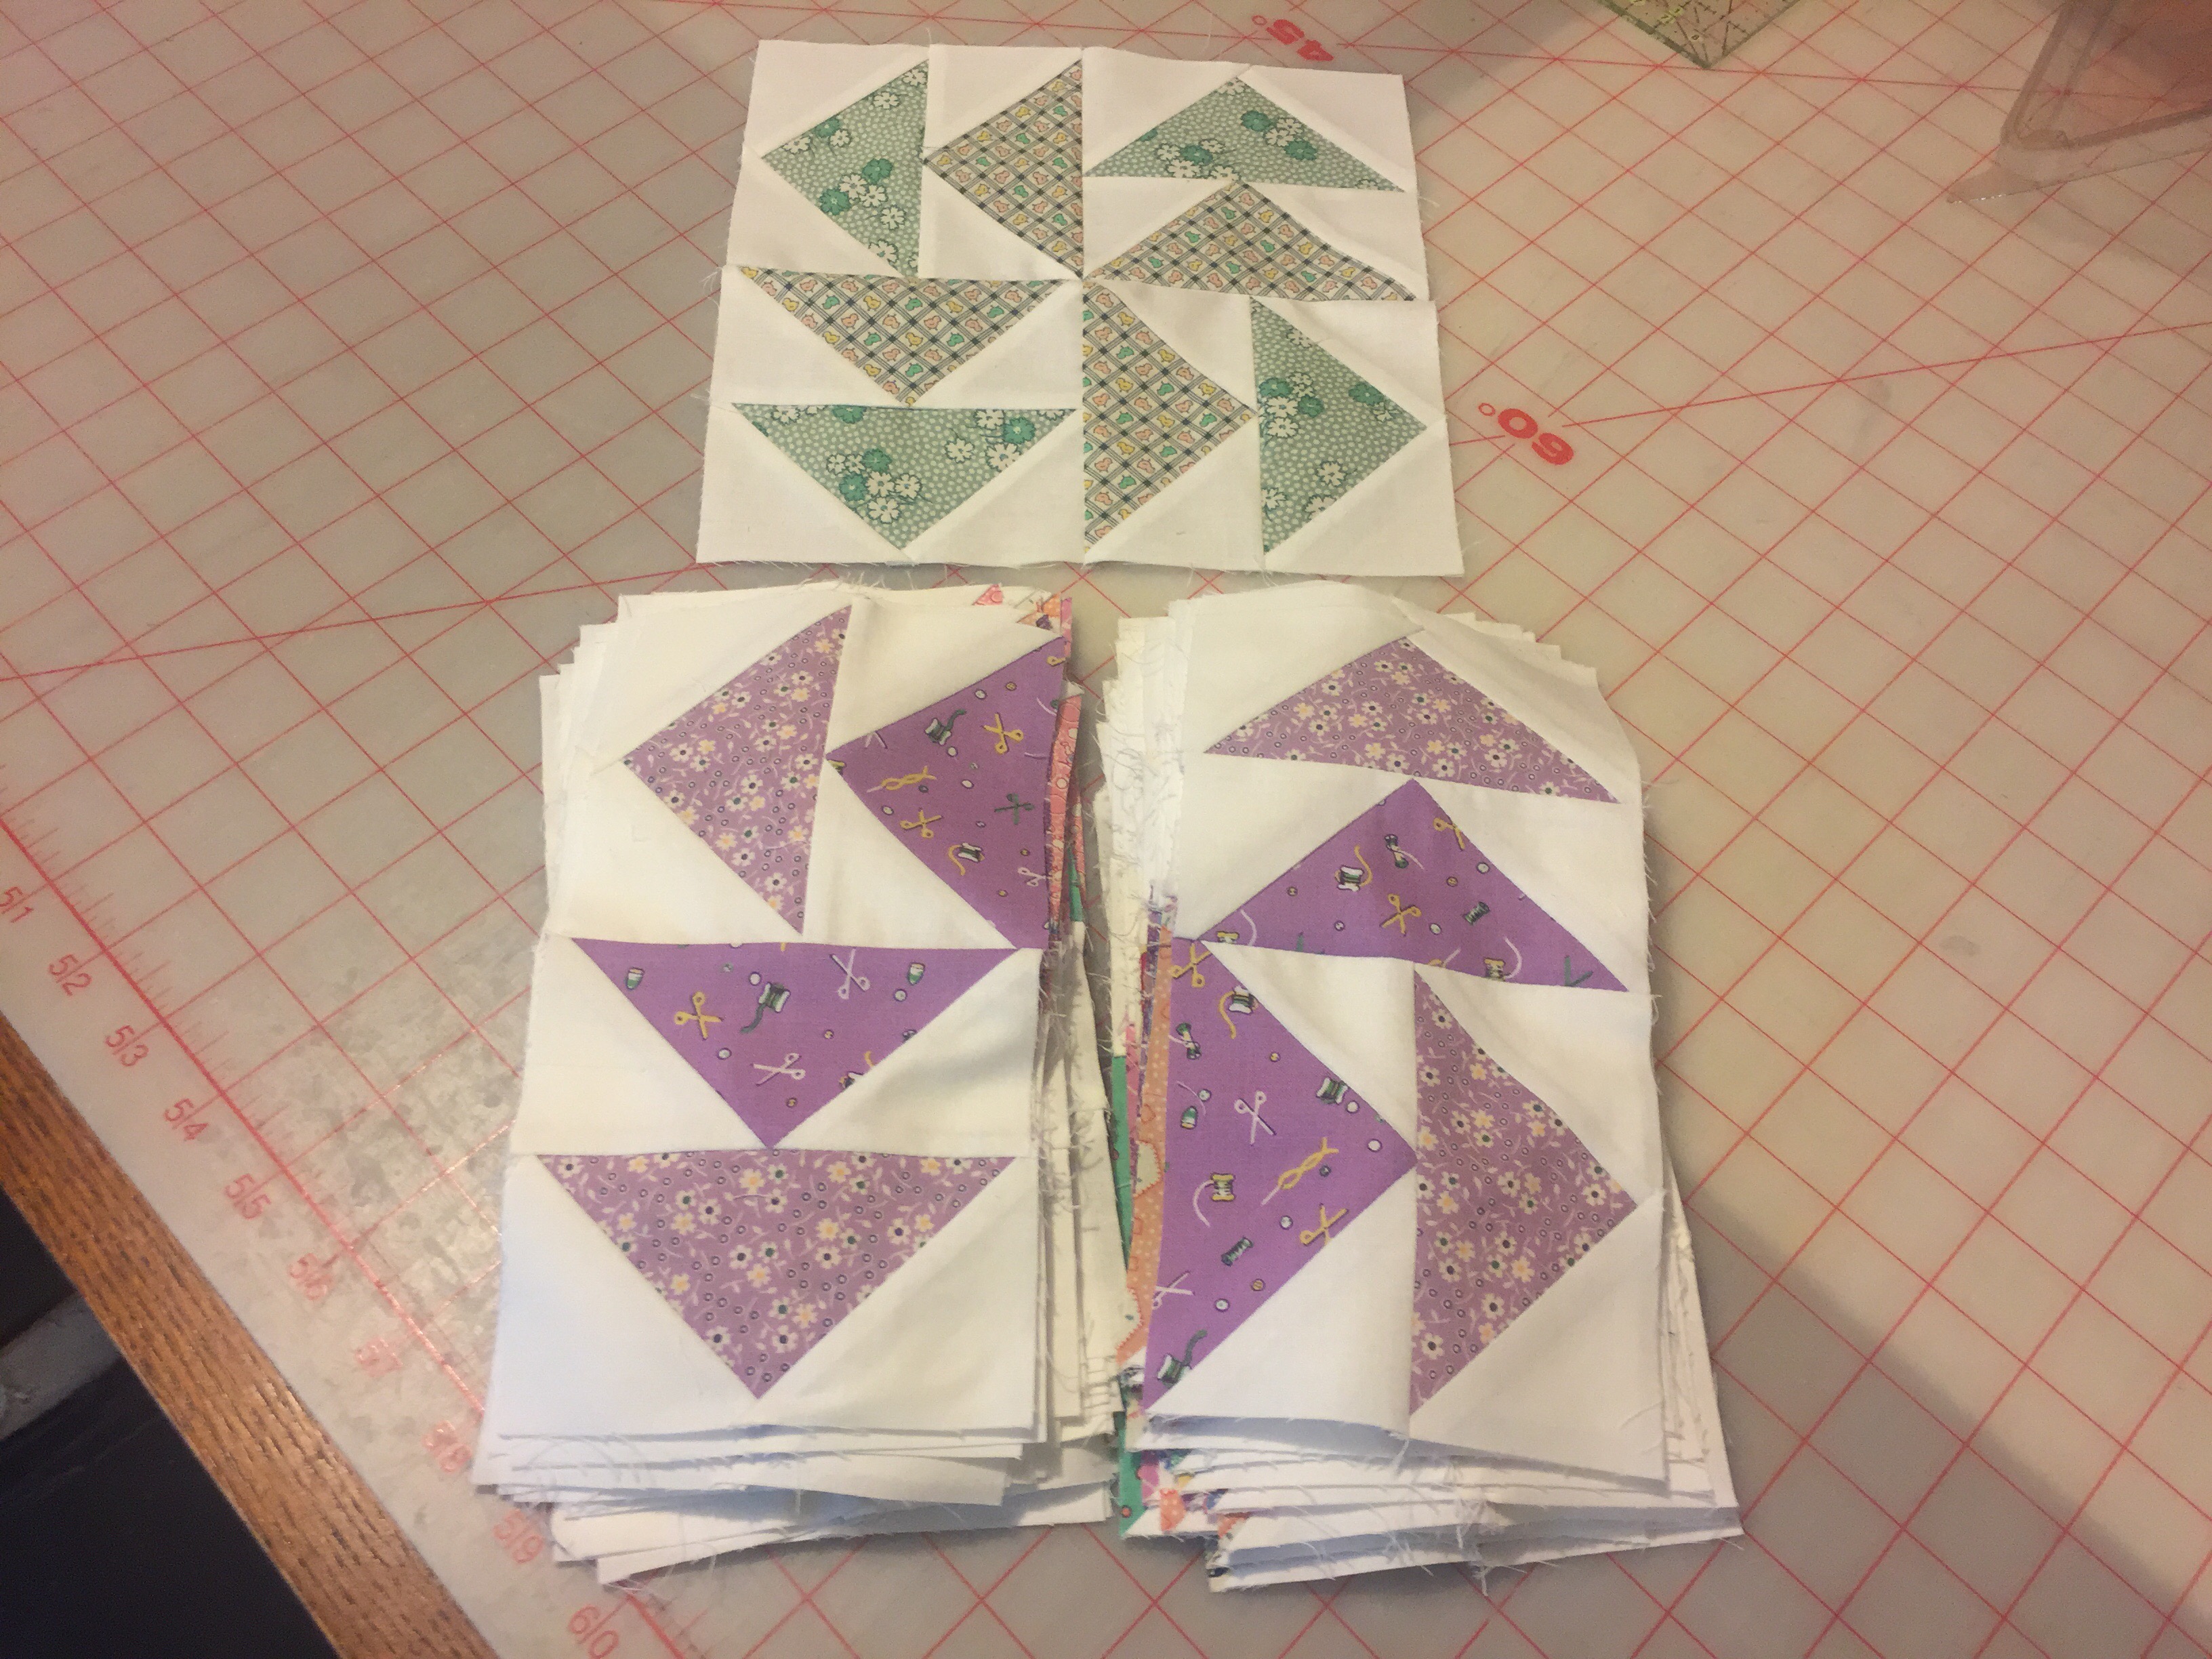
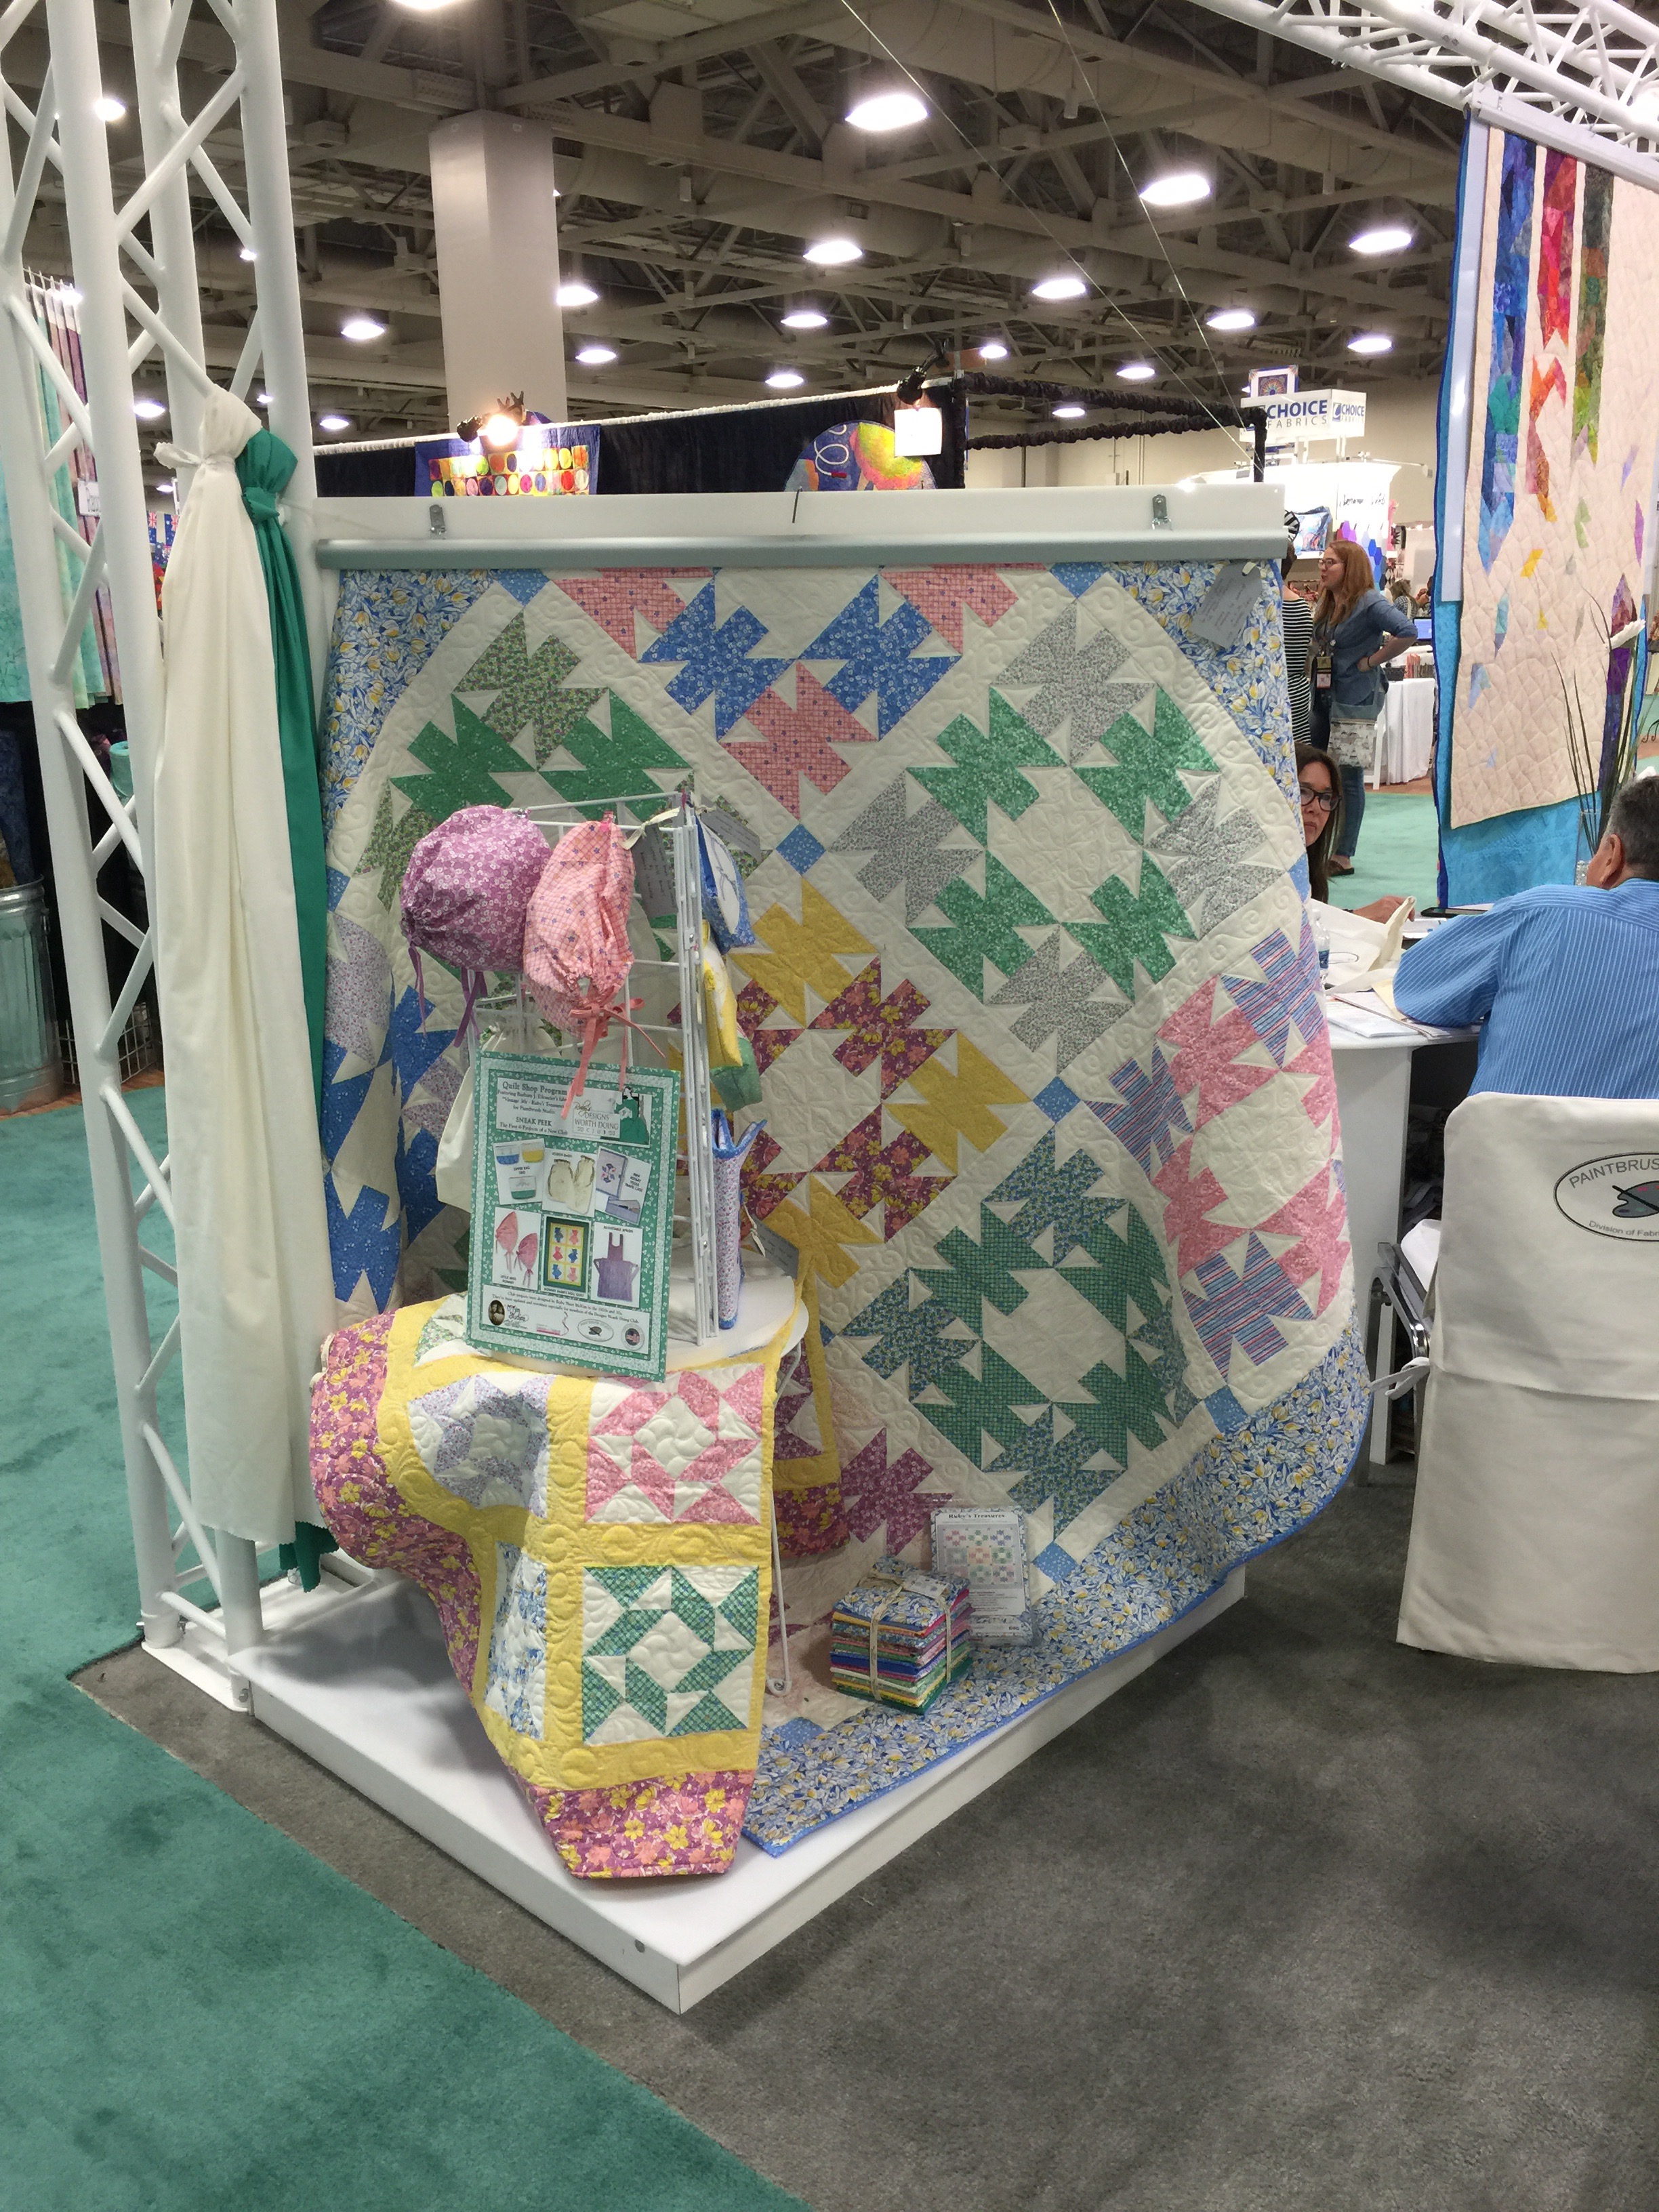
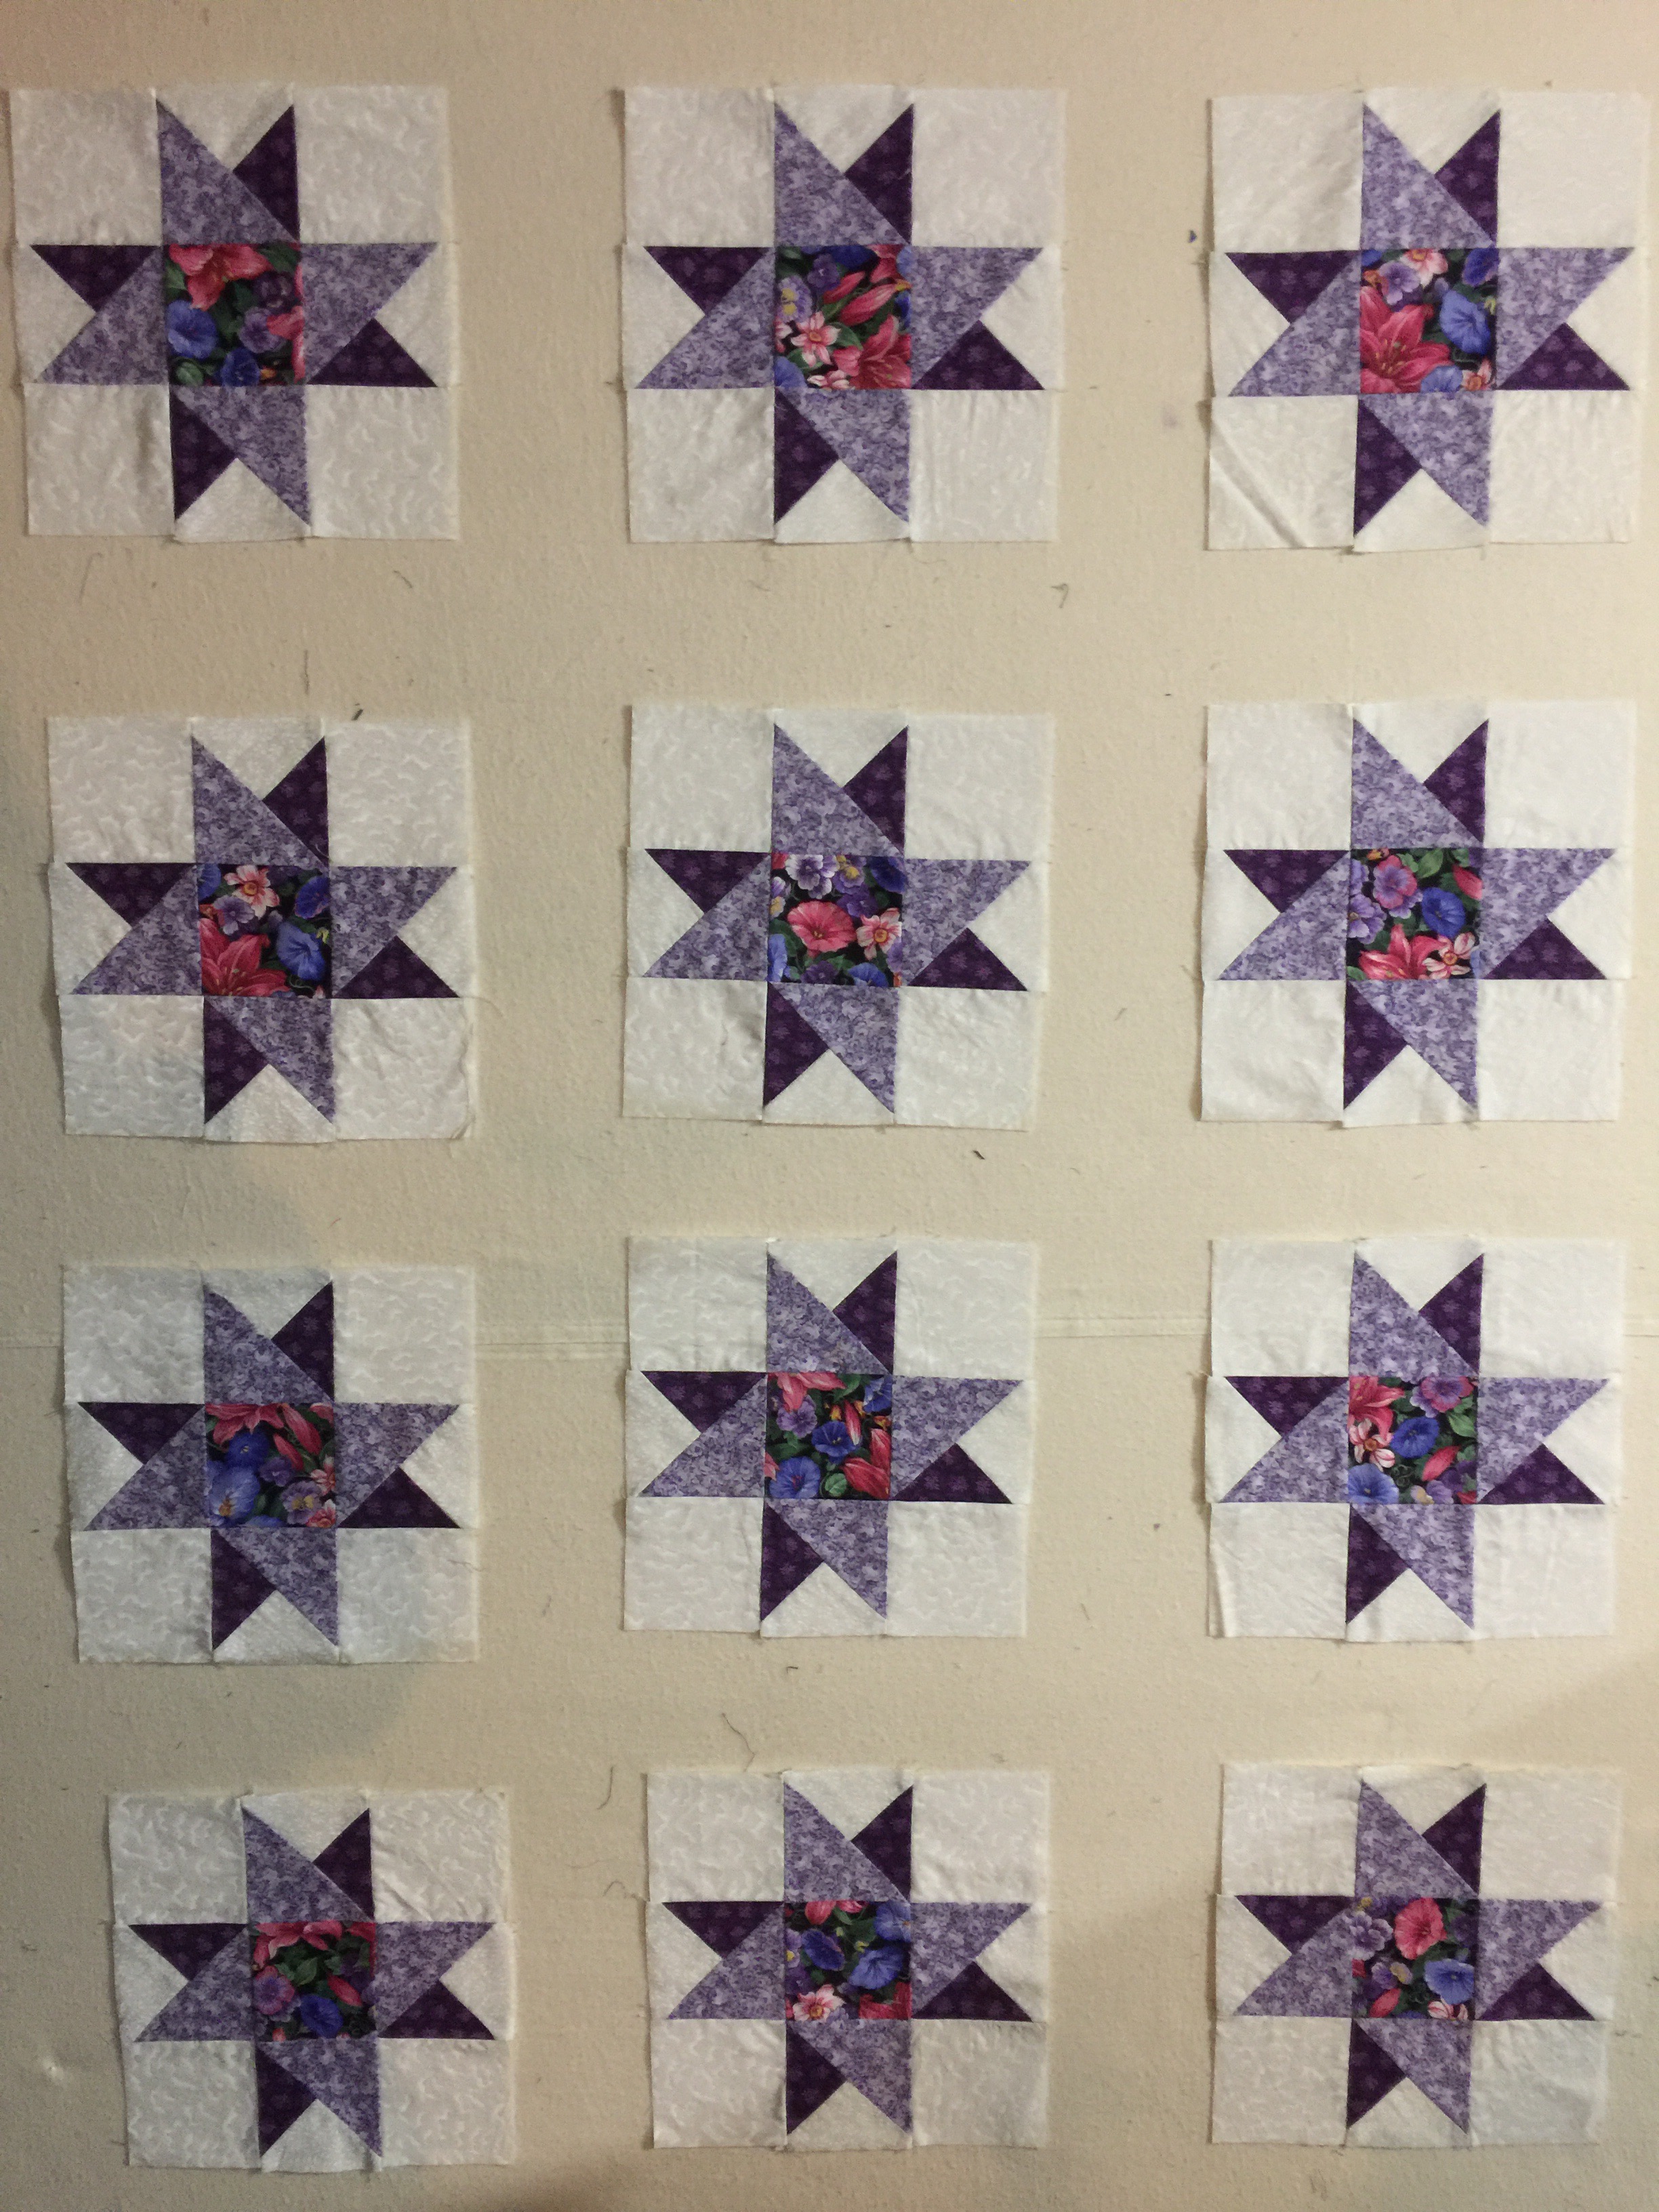
I know some people are against using glue in the construction of thier quilts, but I am “not” one of those people. I love how easy it is to glue the pieces together and then just sit down at the sewing machine and sew.  I’ve been working on the crown royal blocks, which has really gone together quick! I like doing things that are quick, that way I can get more things done.

I thought I would share a bit of the glueing process with you today. I had all the blocks made and there is a sashing strip that goes in between each block. I sewed a sashing strip onto the right side of each block (the first block has a sashing on both sides).  Here’s where using the glue really speeds up the process.

Starting with the first block, I glued the blocks together one by one, making sure they were in the correct order. After glueing the first 2 blocks together, I would fold up the block on top and then with rights sides together, glue the next block on and repeat that process until all blocks were glued together.


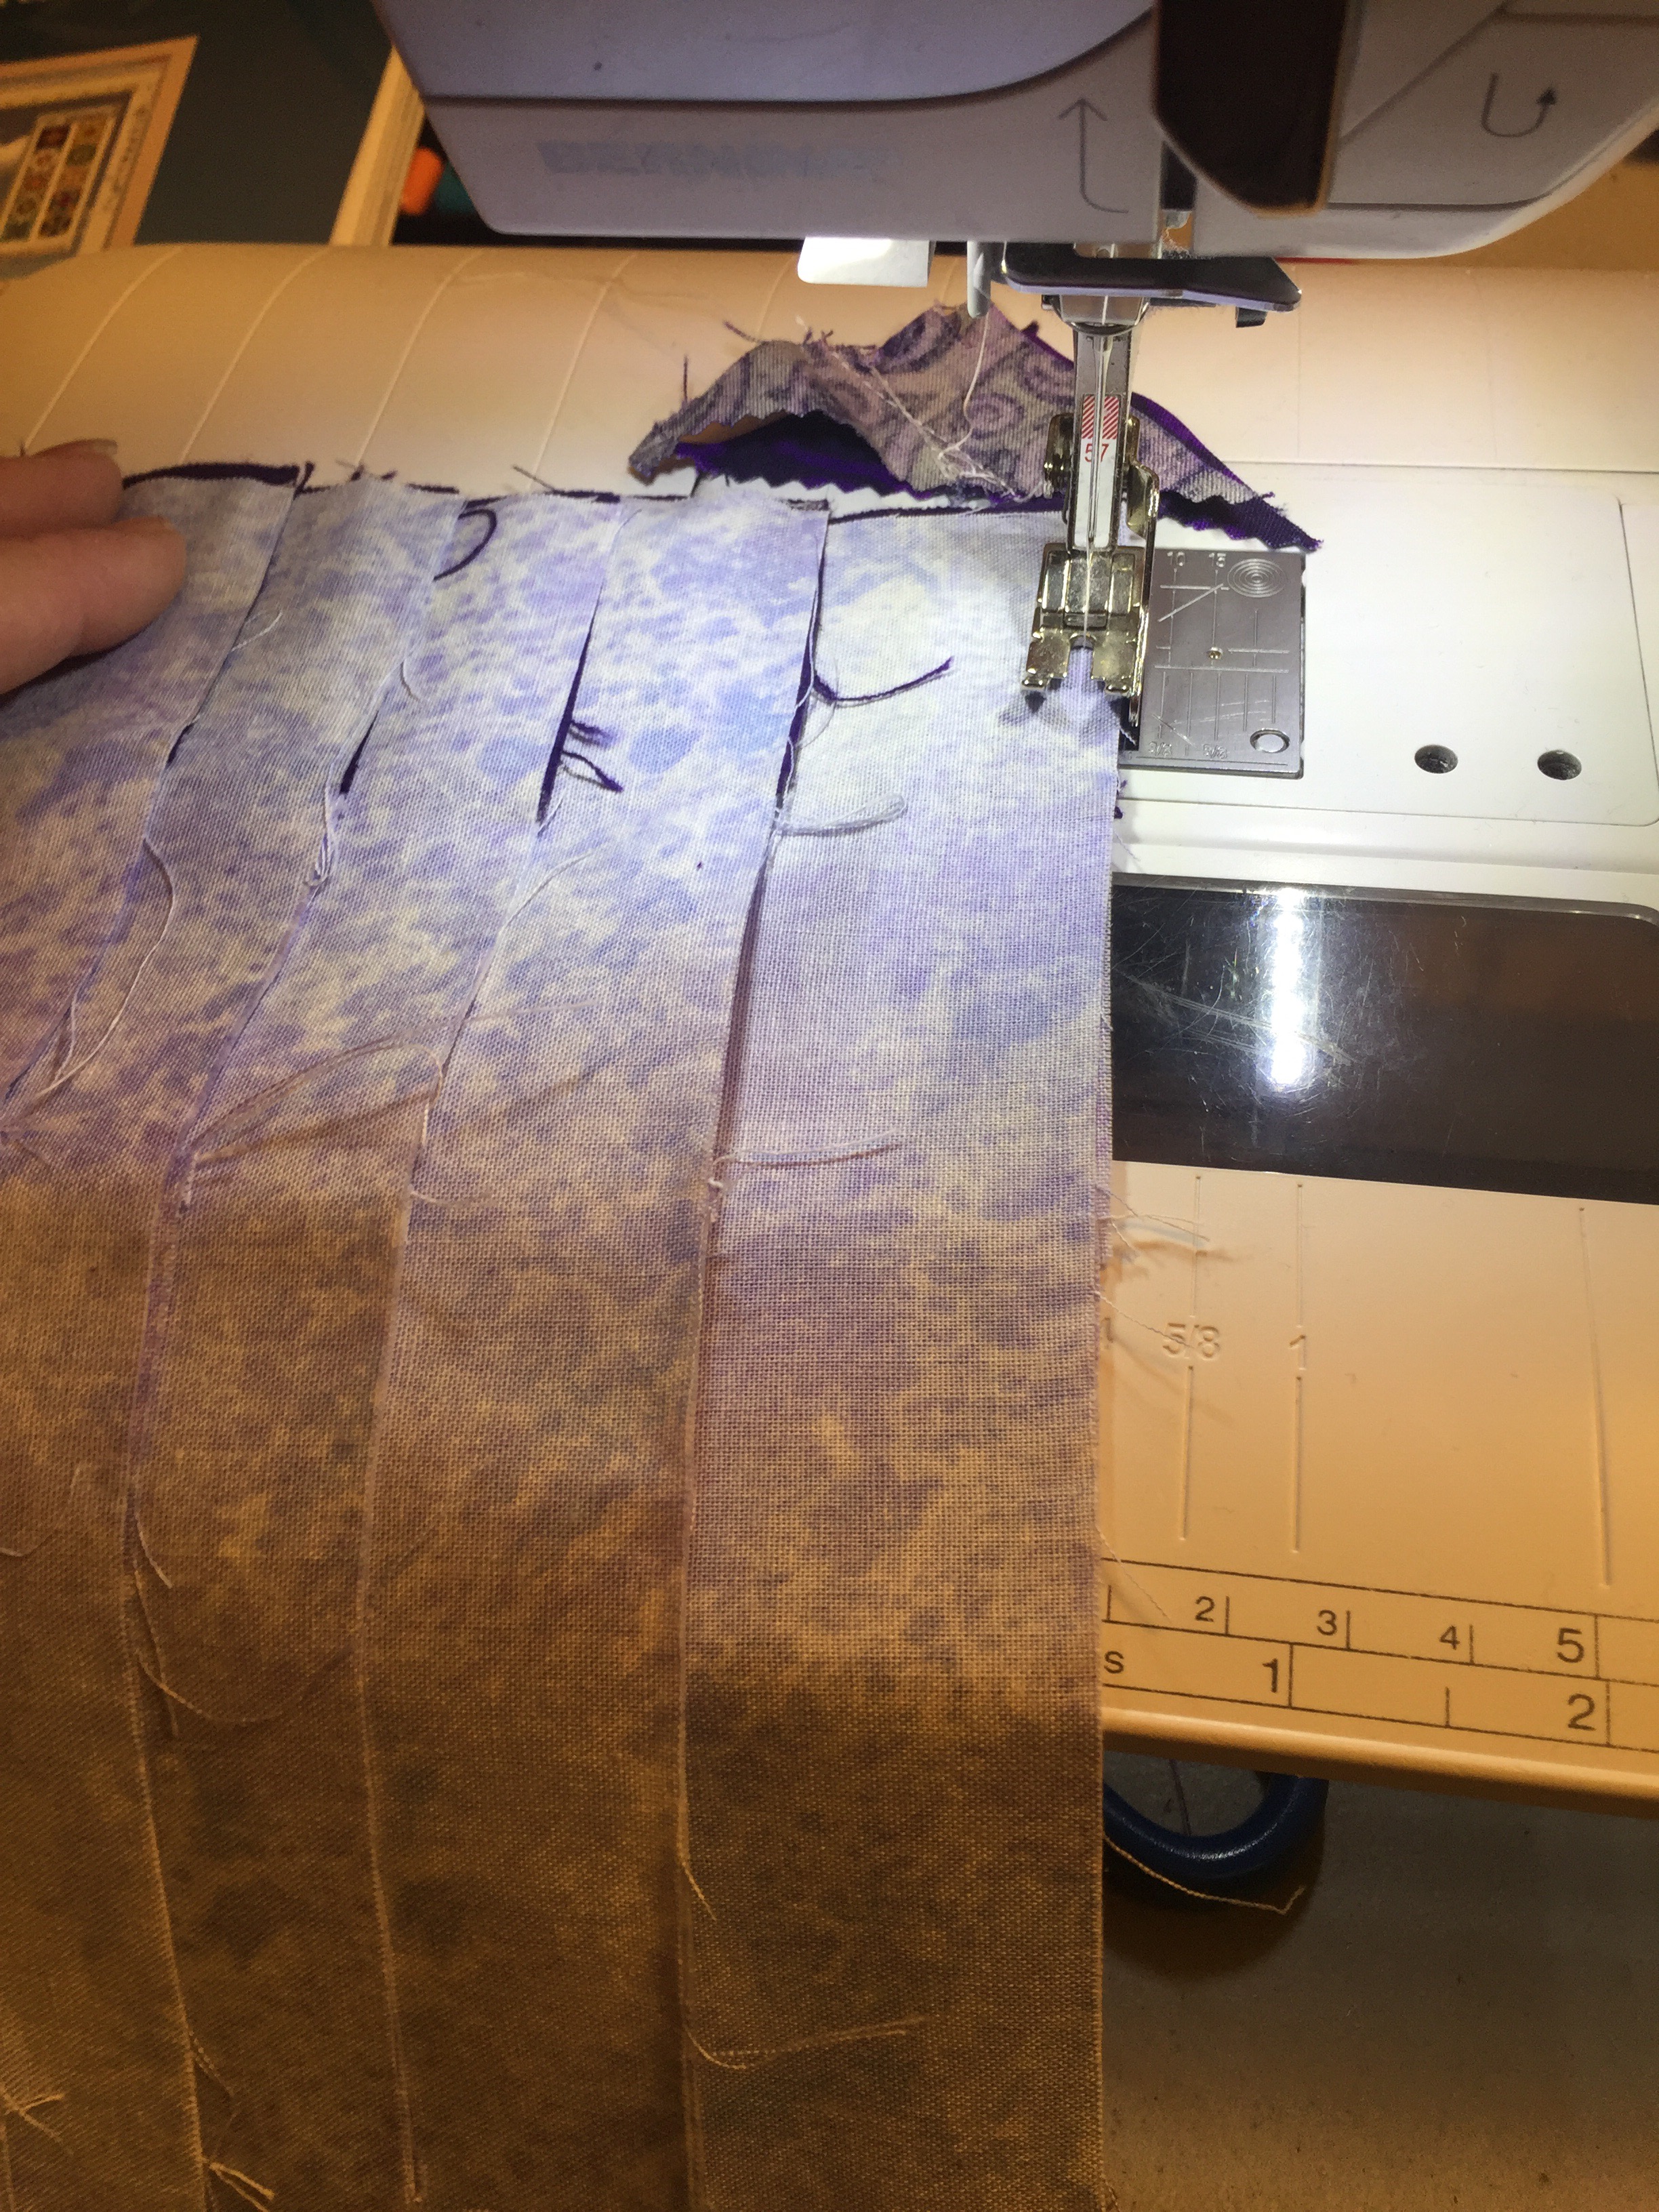
I then picked up the stack and moved  to the sewing machine.

Keeping the blocks stacked, I started sewing.


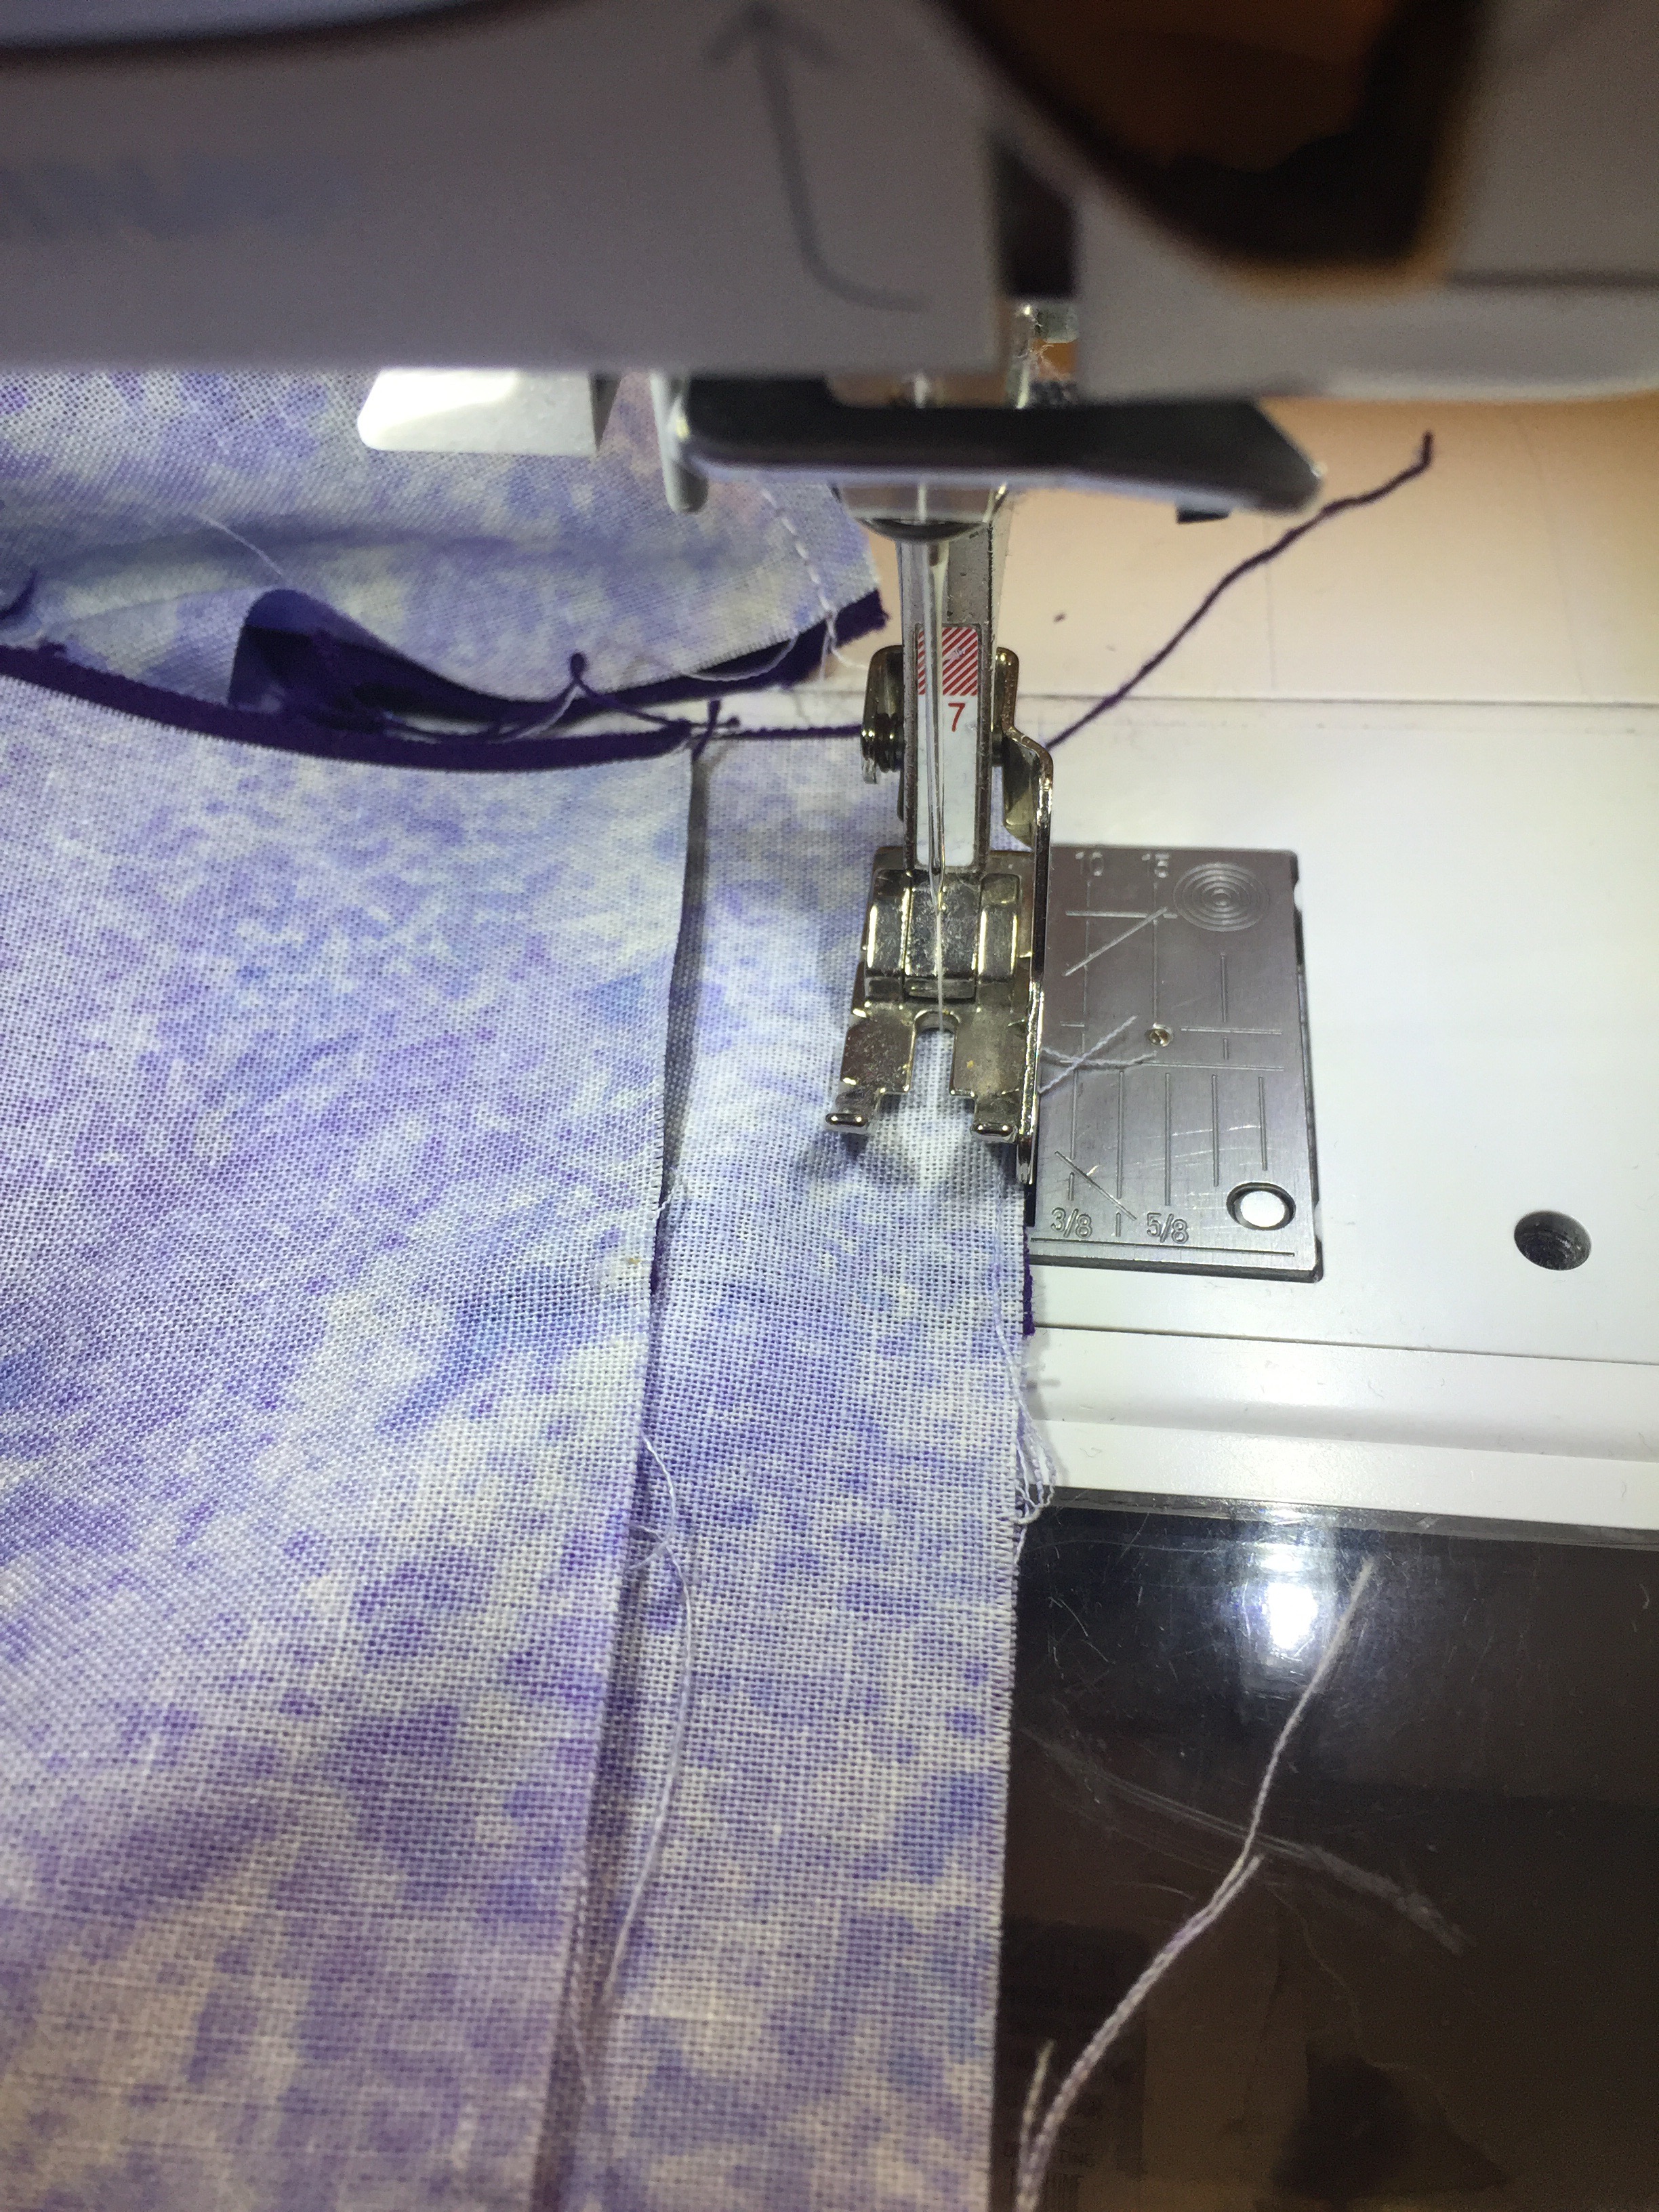
When I reached the end of the first block, I chain pieced to the next block.

I continued to keep them stacked while chain piecing the blocks.

When I finished the last block, all I had to do was clip the threads between the blocks…….

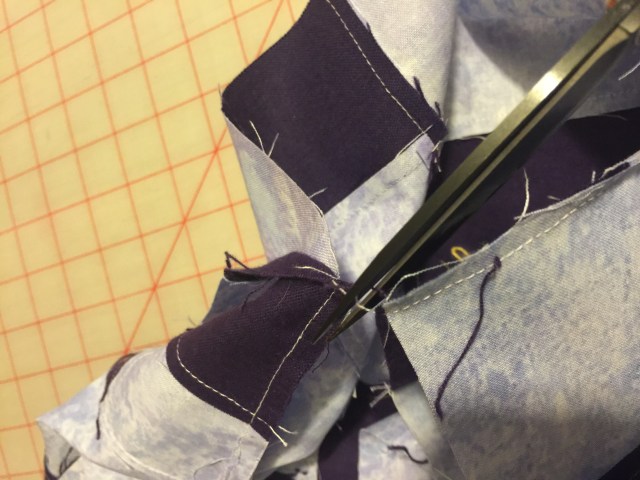
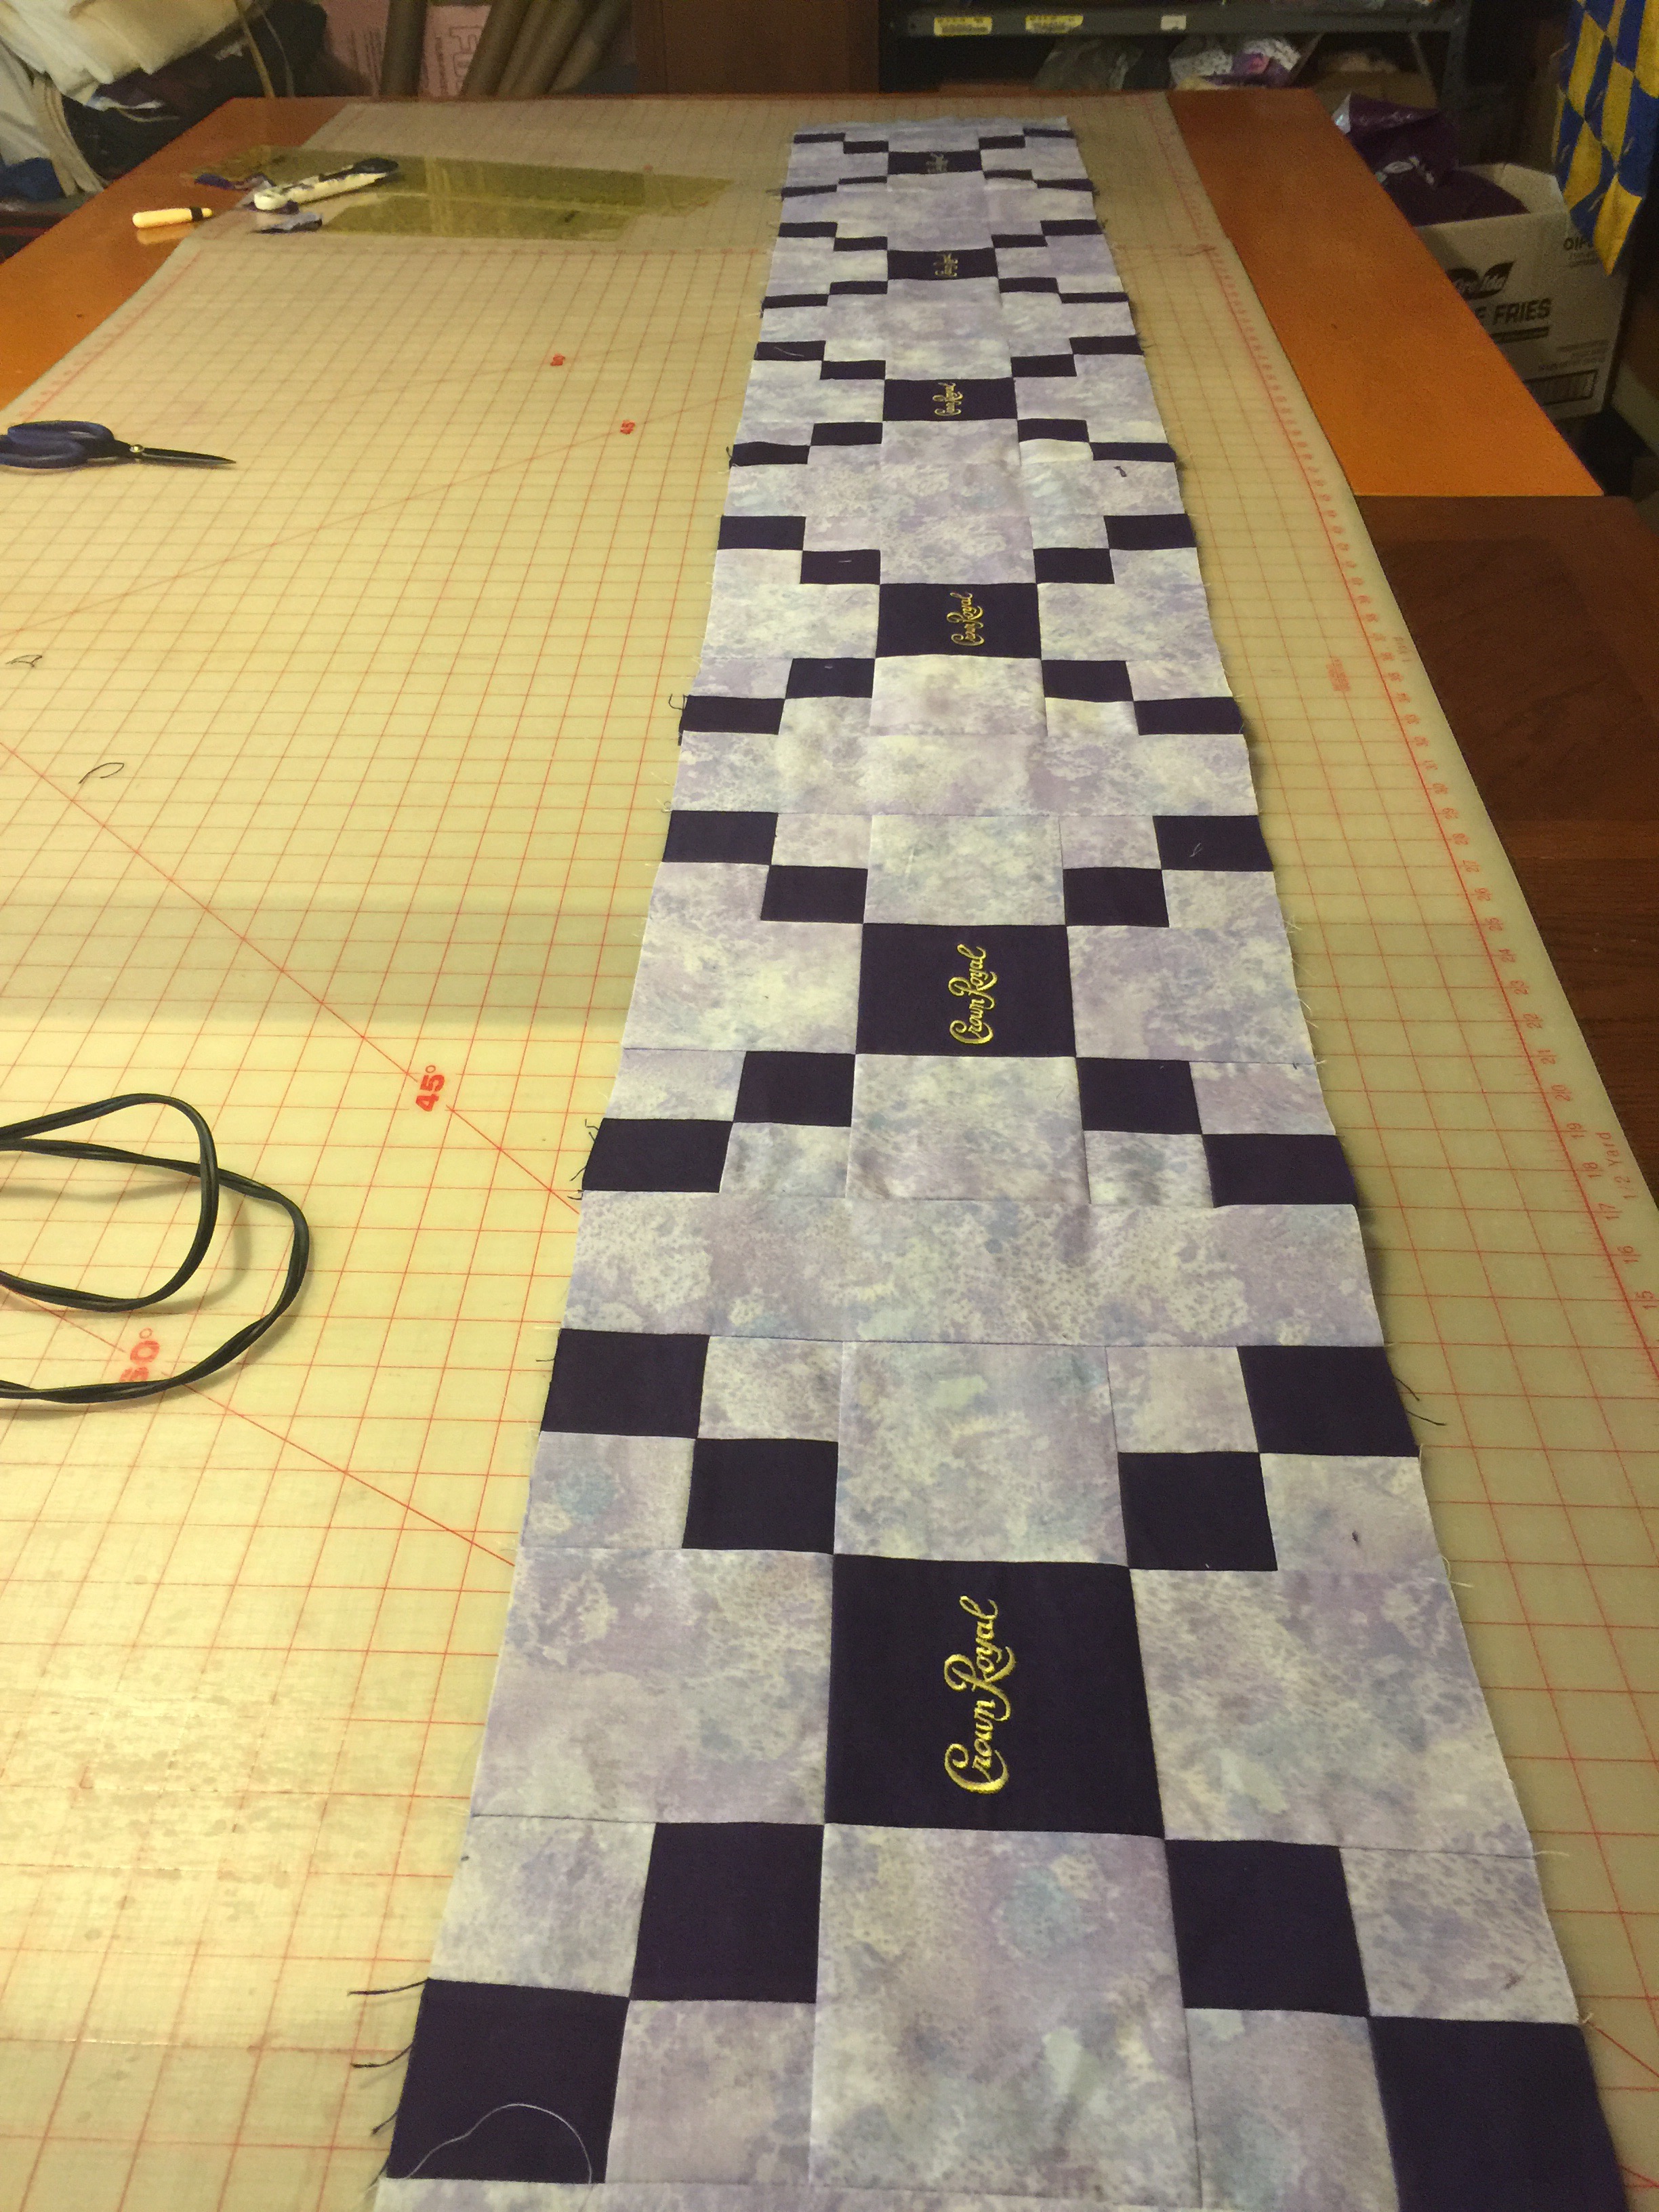
Tadah! Row is complete. No blocks accedentally turned, no pins to fuss with or get poked by. Only took a few minutes to have all the blocks sewn into rows.

That’s it for now. Next step will be to glue the sashings onto each row and then take my pile of rows to the sewing machine and chain piece them. Yep, I like using glue!😳

Theresa